Raspberry White Chocolate Cheesecake Slice

Our eldest son recently had a birthday and being a summer baby, he chose to celebrate with some close mates coming over for a pool party.

‘Pool party’ is probably stretching it. In reality, it was some ‘cool pre-teens’ swimming all afternoon, and every now and then jumping out of the water to eat or drink something.

When it came to the birthday cake, this Raspberry White Chocolate Cheesecake was requested.

The same cake I made for an Indoor Sports Party the year before for his brother. The same cake I have made for get-togethers, a few other birthdays and the occasional ‘just because’ dessert.

It’s simple to make, loved by everyone, best made a day in advance, is easy to transport, looks great stacked high on a platter with a candle in it and can feed a crowd.

It may not be fancy enough for your Christmas menu, but next time you are asked to take a dessert to a summer BBQ, give this one a try.

The recipe is from the online recipe resource ‘TASTE.com.au’

Raspberry White Chocolate Cheesecake Slice

  • Prep Time: 20m
  • Cook Time: 25m
  • Total Time: 45m

Ingredients

  • 200 grams packet granita biscuits
  • 100 grams butter, melted
  • 375 grams cream cheese, softened
  • 1/2 cup sour cream
  • 1/2 cup castor sugar
  • 2 eggs
  • 100 grams white chocolate, chopped
  • 1/2 cup frozen or fresh raspberries, or berry of choice

Method

  1. Grease and line a rectangular slice tin with baking paper.
  2. Place the biscuits in a food processor and process till finely crushed.
  3. Add the butter and process until combined.
  4. Spread the mixture into the tin and press firmly all over.
  5. Place in the fridge while you prepare the filling.
  6. Preheat oven to 160 degrees celsius.
  7. Place cream cheese and sour cream in the food processor and process until smooth.
  8. Add the sugar and eggs and process again.
  9. Remove the base from the fridge and sprinkle with chocolate and berries.
  10. Pour the cream cheese mixture over the base.
  11. Place in the oven and cook for 25 minutes or until just set.
  12. Turn the oven off, and leaving door ajar, leave to cool in the oven.
  13. Place in the fridge to cool completely.
  14. Cut into squares to serve.

Raspberry & Pistachio Semifreddo (refined sugar free, gluten free)

A semifreddo is a fancy word for a ‘semi frozen’ dessert. It almost always has a base of cream, eggs and sugar, but when it comes to flavour, anything goes.

My boys and I agree that eating this one tastes like eating a frozen Creme Brûlée.

Another simple recipe that’s perfect for summer time entertaining, it only has 3 main steps – whip, fold and freeze and can be made many days in advance.

You will need electric beaters for this recipe, hand whipping won’t get you the desired thickness you need when it comes to whipping the egg yolks and honey.

This has made it to the top of our dessert menu for my family Christmas gathering – alongside my Mum’s Pudding of course.

A shout out to one of my fave’s, Bill Granger, for this recipe. His simple approach to cooking is one I love. I come back to his recipes time and time again. This is my version of his recipe from ABC Delicious magazine, November 2006.

Raspberry & Pistachio Semifreddo (refined sugar free, gluten free)

  • Prep Time: 15m
  • Cook Time: 6h
  • Total Time: 6h 15m

Ingredients

  • 6 egg yolks
  • 1/3 cup honey
  • 250 milliliters thickened cream, whipped (1 cup)
  • 150 grams fresh raspberries, plus extra to decorate
  • 3 tablespoons unsalted, shelled pistachios, chopped, plus extra to decorate
  • 1 teaspoon vanilla bean paste or extract

Method

  1. Beat the egg yolks and honey together with an electric beater until very thick, pale and double in volume. This will take at least 5 minutes.
  2. Fold in the whipped cream and vanilla.
  3. Line a loaf tin with plastic wrap, leaving enough to hang over the sides of the tin. You will use this to wrap over the top of the semifreddo.
  4. Spoon the mixture into the tin, fold the wrap over the top and place in freezer for 2 hours, until semi-frozen.
  5. Remove from the freezer and carefully stir through the raspberries and pistachios.
  6. Cover with the wrap again and place in the freezer for another 4-6 hours, or overnight, until completely frozen.
  7. 20 minutes before you are ready to serve, invert the semifreddo onto a platter, remove the plastic wrap, decorate as you wish and leave to sit in the fridge to soften a little before cutting and eating.

IMG_7580

Deconstructed Lime Tart with Raspberries

Does the thought of cooking with pastry scare you?

Or do you always avoid preparing a fancy dessert when entertaining, worried that it might not turn out?

This recipe is for you my friend.

We are about to embark on a season of entertaining, mostly outdoors, with kids swimming and playing and adults relaxing and catching up.

Even the crazy cooks, like myself, love to actually be chilling with our guests when they are over, and not spending all the time in the kitchen.

This dessert suits both the cooks and non-cooks alike.

Cooks, enjoy making your own curd and crumble from scratch, (both of which can be done in advance) and then simply layer in glasses when you are ready to serve.

Non-cooks, purchase a jar of yummy store-bought curd, and instead of following the crumble recipe, buy a packet of shortbread biscuits and blitz them in the food processor. Follow the rest of the recipe as normal.

The quantities of ingredients listed below can be easily doubled to serve a crowd of 10-12, or you may want to make larger servings than I did and serve 4 instead of 6, or stretch it to serve 8! Basically, you have a good quantity of each element, how many you want it to serve is entirely up to you.

This is an easy dessert for summer time entertaining. It looks beautiful and tastes great. It has crunch and creaminess and you do actually feel like you are eating a Citrus Tart.

Beware my family and friends, this will probably be on the menu a bit this Christmas season.

The link to my Lemon Curd can be found here.

Deconstructed Lime Tart with Raspberries

  • Prep Time: 15m
  • Cook Time: 10m
  • Total Time: 25m

Ingredients

  • 3 tablespoons plain flour
  • 3 tablespoons raw sugar
  • 3 tablespoons almond meal
  • 3 tablespoons cold butter
  • 2 cups lime or lemon curd (store bought or see my Lemon Curd recipe in Baking )
  • 300 milliliters double cream
  • 250 grams mascarpone
  • 2 teaspoons vanilla bean paste
  • 1 punnet fresh raspberries
  • mint leaves or edible flowers to serve

Method

  1. Preheat oven to 180 degrees celsuis.
  2. Combine flour, sugar and almond meal in a bowl.
  3. Place those ingredients in a food processor and add the cold butter, processing in short bursts, till it forms a crumble like mix. You can also use your fingers for this part - just rub the butter in to the dry ingredients till sand like crumbs form.
  4. Place on a baking tray lined with baking paper and put in the oven for 10 minutes, or until lightly golden. You may need to keep an eye on it and give it a stir once in a while.
  5. Combine cream, mascarpone and vanilla in a bowl and give a good stir.
  6. Layer the curd, cream, crumble and raspberries into glasses.
  7. Garnish with mint leaves or edible flowers to serve.


Creme Brûlée

We’ve had a rocky journey together, Creme Brûlée and I.

After noticing early on in our married years that this was the dessert my husband always ordered when we were out, I was determined to master it at home.

But alas, that sounds easier said than done!

I have tried many recipes for this divine dessert and many times it has FAILED. I will never forget the New Years Eve gathering where I had boldly stated I was bringing Creme Brûlée for all of our friends, only to pull the tray out of the fridge as we were leaving and the un-set custards pouring all over the kitchen floor. There may have been tears……and there may have been more tears when my husband said “It’s okay babe, we’ll just swing past Woolies and buy a dessert to take!”  For those of you who know me well…..no more needs to be said.

I don’t give up easily and so after many attempts, I finally came across this incredibly simple recipe from Gary Mehigan’s cookbook, Comfort Food. And I have not changed it one bit. I am way too scared to play with this recipe, it just works so perfectly.

The first time I made it and it worked so well I laughed out loud at myself. See the thing is, I’ve tried many complex brulee recipes that have never set. And then when I read “mix all ingredients together in a bowl and pour into ramekins” I realised that IT DIDN’T HAVE TO BE HARD for it to be a good recipe.

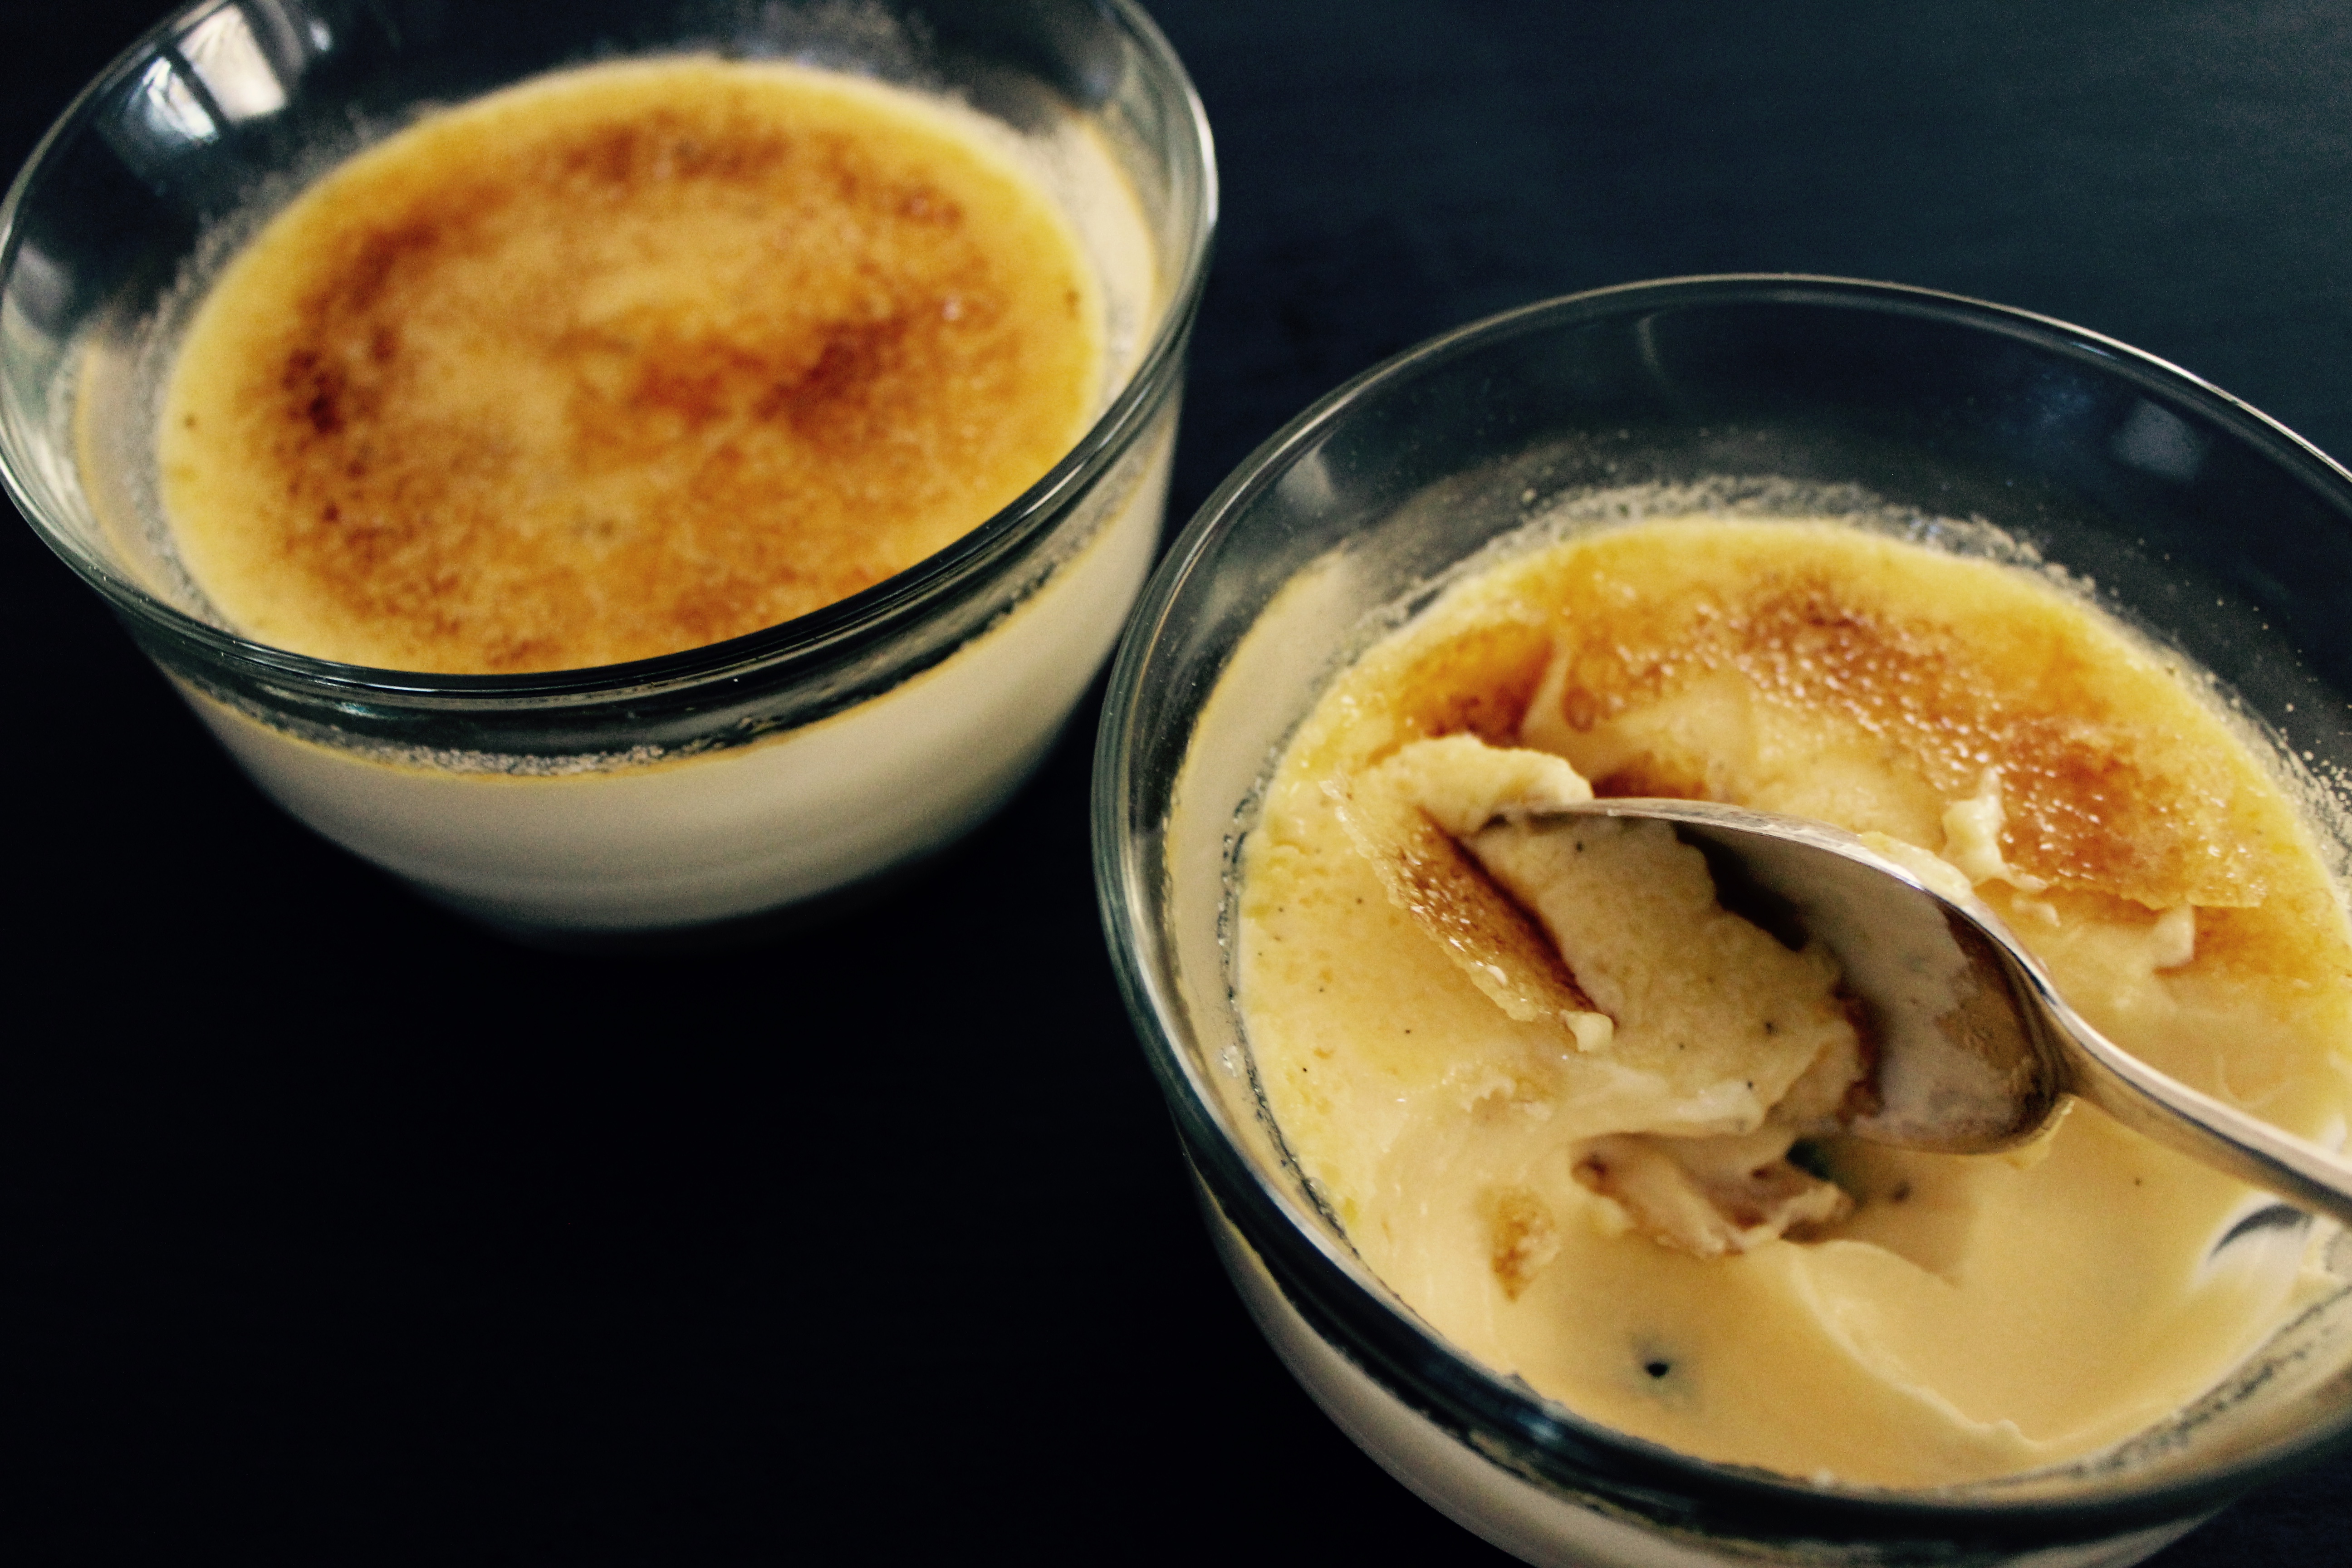
So, get your chef’s torch ready and get set to impress your family and friends with this dessert!

IMG_7002


Using 200ml sized ramekins, this mixture makes 5. If you use larger ramekins, it will serve 4 nicely, but I find this size is a perfect portion without being too much. I double it if I am serving a large crowd.

Ingredients

1 vanilla pod, seeds scraped (don’t be tempted to substitute essence or extract, you’ll be disappointed).

500ml pouring cream

6 egg yolks (freeze your egg whites for later use)

90gm castor sugar (plus a little extra for the topping)

Method

Preheat oven to 140 degrees celsius.

Cut your vanilla bean in half lengthways, and then with a tip of a knife, scrape the seeds out. Place seeds into a mixing bowl. (You can either discard the pod at this stage, or stick it in a sugar bowl or container to give it a vanilla flavour).

Add the cream, egg yolks and sugar and using a hand whisk, whisk until it’s combined.

Pour the mixture evenly into ramekins.

Place the ramekins in a large roasting dish and fill the roasting dish with boiling water (this is called a bain marie), so the water comes halfway up the sides of the ramekins. *It’s easiest to place your tin on the shelf in the oven, and then fill it with the boiling water from a kettle, then gently push the oven shelf in, so that the water doesn’t spill everywhere.

Bake for 45 minutes or until just set with a slight wobble in the centre.

Put in the fridge until needed.

Just before you are ready to serve, sprinkle each custard with 1/2 tablespoon of castor sugar, and using a chef’s torch, caramelise the sugar.

IMG_6996


Apple and Rhubarb Crumble

An oldie but a goodie, this would be one of our favourite desserts. Simple enough for a mid-week Dessert Night, but also fancy enough to serve if having visitors.

Serves 4-6

Ingredients

1 bunch of rhubarb, cut into 3cm pieces

2 large granny smith apples, peeled and sliced thinly

2 tablespoons lemon juice

1 tablespoon maple syrup

Crumble Topping 

100gm plain flour

100gm butter, cubed

1/4 cup brown sugar

1/4 cup oats

1 teaspoon cinnamon

Method

Preheat oven to 200 degrees celsius.

Lightly grease a pie or gratin dish and place rhubarb and apple in the dish. Pour over the lemon juice and maple syrup and give everything a big mix.

To make the topping, rub the butter into the flour using your fingers until you have a chunky breadcrumb like consistency.

Stir in sugar, oats and cinnamon.

Sprinkle evenly over the top of the fruit and bake in the oven for 30-40 minutes, or until the top is golden and the fruit is bubbling.

Cool slightly and serve with custard, cream or ice-cream.

IMG_6778