Every now and then, dreams come true.
Ever since I was a little girl, I had dreamed of one day visiting Italy. There’s always been something about Italy that has had me captivated; it’s food, people and their love of big-hearted hospitality are just some of the things I love about it.
So, when we were invited to join some friends for a holiday to a Villa in Tuscany, it finally felt like the right time to pack up the family and head to Europe.

The Villa where 3 families spent a week together

One of the many vineyards surrounding the Villa.

This provided welcome relief from the hot Italian sun

Pool house, outdoor kitchen and pizza oven

It was too beautiful to eat inside
Like everyone, we’ve had our fair share of holidays that haven’t quite lived up to expectations.
But from the moment we landed, this one met and exceeded them at every turn.
After 3 days in glorious Venice (recipes to come from there later), we headed to Tuscany and embarked on a week of sight seeing, walking, touring, eating, drinking and immersing ourselves in everything Italy.
Our base was Villa Gourmet, an old but beautifully restored villa with ample space for our 3 families. Surrounded by acres of olive groves, vineyards and sunflower fields, this Villa felt like home from the moment we arrived. Most meals were eaten at the pool house, which had it’s own kitchen and wood fired pizza oven.
We cycled through the walled city of Lucca, walked along the top of a 13th century Castle in Montalcino, wandered museums of Florence, and drank Prosecco looking over the fields of Tuscany. We tasted local olive oils, balsamic vinegar and wines and ate at restaurants with no menu where the owners just cooked what they loved and served it.

Our boys walking along the top of the 13th century Castle

Lovely Lucca
We ate pizza, gelato, bruschetta, seafood and the famous Florentine Steak that Tuscany is known for. After long days out touring, evenings were spent with antipasto and wine by the pool where the kids swam until the sun went down, just after 10pm!
On an extra special day, which had been planned by my sneaky friends as a surprise for my 40th birthday (which happened to fall while we were away), we found ourselves Truffle hunting in the woods.

Me on the hunt for some truffles

A black summer truffle

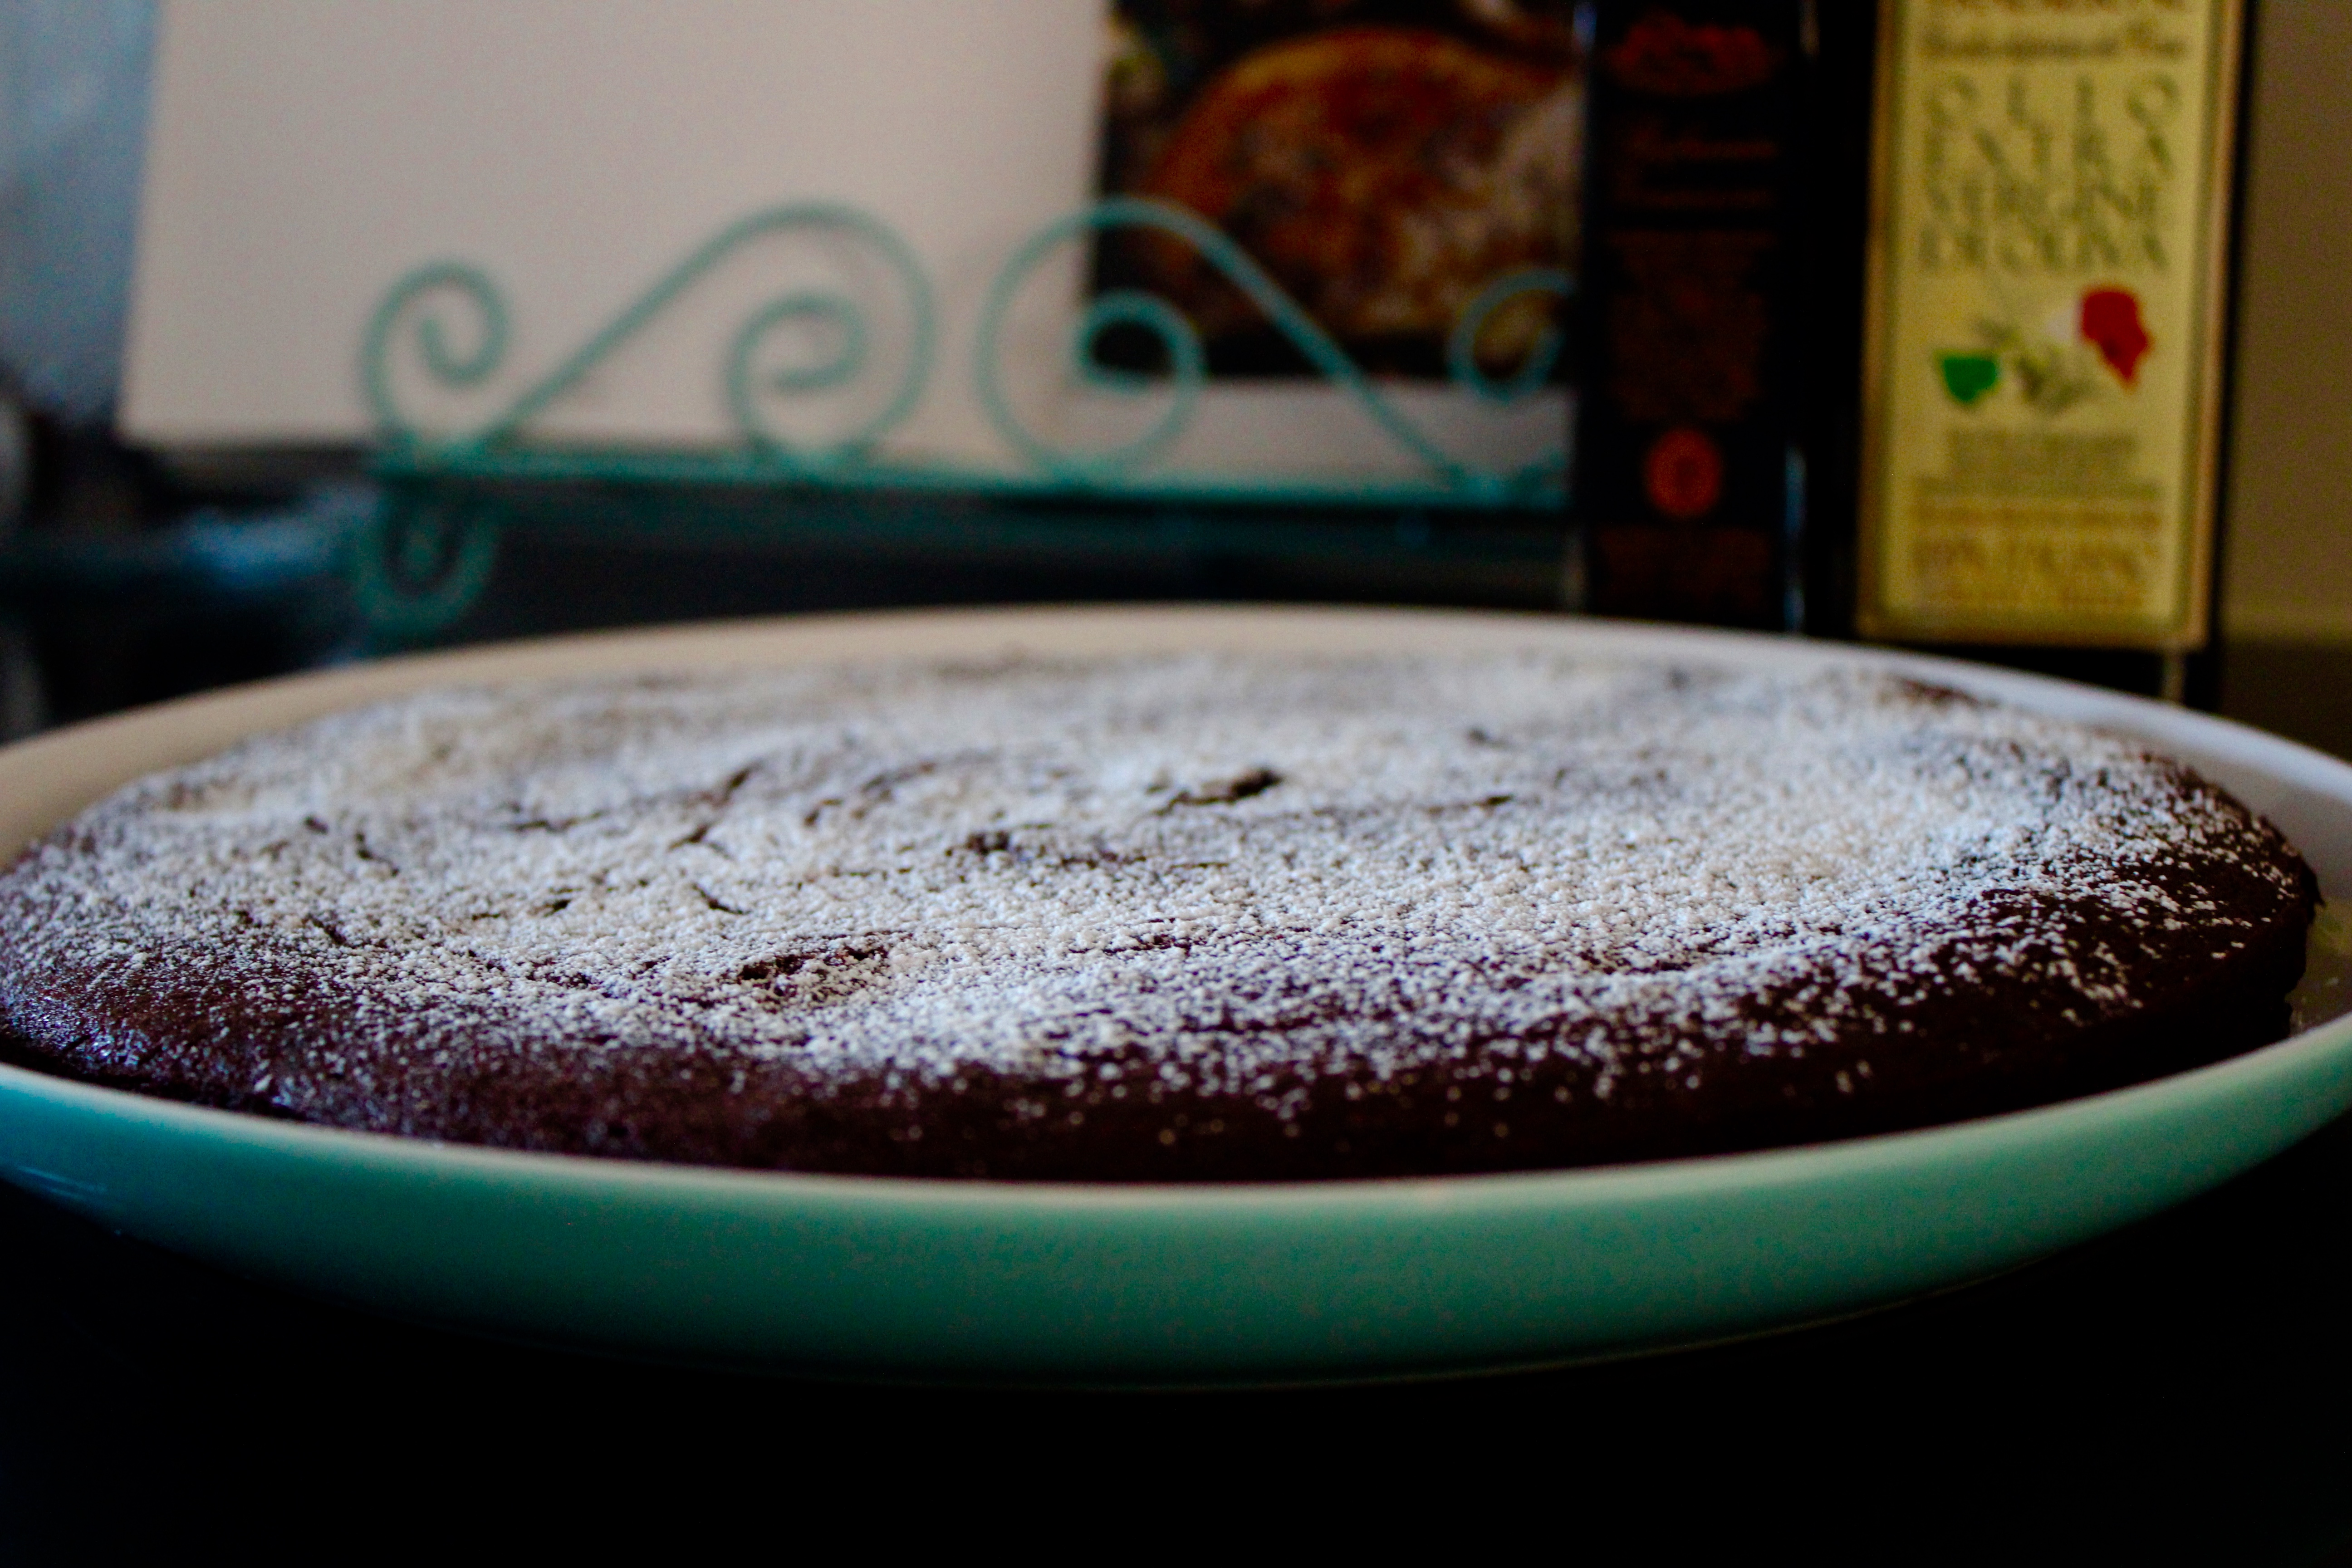
Torta Chocolate prepared by our Italian hosts
We were then driven to the beautiful home and vineyards of a family who welcomed the 14 of us into their home and proceeded to cook us a 5 course lunch, with our truffles as a star ingredient.
We ate Truffled Ravioli (the likes of which I may never have again), Truffled Burrata, and the most amazing veal I have ever had with a truffle sauce.
When we truly felt we could eat no more, our hosts brought this slim yet decadent Chocolate cake to the table. Named ‘Torta Chocolate’, it is made with 5 ingredients and cooks in just 9 minutes. It is a rich and velvety cake, that looks quite humble, and yet is decadent to eat.
The Italians we met and ate with on our trip truly welcomed us with a warmth and generosity of spirit that you don’t find everywhere. Their attitude is that life and food is to be celebrated and enjoyed, not just on special occasions, but on even the most ordinary of days.
Our beautiful hosts happily shared their recipe with me and here I am, passing it on to you. My hope is that you will cook it for a stranger or a friend sometime soon and spend some time with those people, celebrating life around a table.

Torta Chocolate
2017-08-31 21:58:58
Serves 8
A rich, velvety chocolate cake that cooks in 9 minutes.
- 4 eggs
- 150 grams butter
- 250 grams good quality dark chocolate (minimum 50% cocoa solids, 70% works the best)
- 1 tablespoon sugar
- 1 tablespoon plain flour (this also works with gluten free flour or almond meal)
- Preheat oven to 180 degrees celsius or 160 degrees fan forced.
- Melt the butter and chocolate together, either in the microwave, 1 minute at a time, or in a bowl over a pan of simmering water.
- Add the remaining ingredients and stir until the mixture is smooth and combined.
- Pour the mixture into a greased and lined round cake tin (approx 23cm) or the size of a dinner plate. It is supposed to be very thin.
- Cook for 9 minutes.
- As all ovens are a little different, at this stage you can check by moving the pan gently. The cake should be set on the outside, but have a very slight wobble right in the centre. Remove it from the oven at this stage and it will set further as it cools.
- If it doesn't seem set enough, put it back in for 2 minutes more and check again.
- Dust with cocoa or icing sugar to serve and enjoy on it's own or with double cream and berries.
- This cake can be eaten warm or at room temperature.
- If you do happen to over cook it, it will still be edible, but will taste more 'cake' like instead of velvety and smooth.
cook fast eat slow https://www.cookfasteatslow.com/