Well, the weather is finely starting to feel as Autumn in Sydney should, with cooler mornings and evenings finally upon us. I am starting to put the ‘throws’ back on the lounges and will need to get the blankets out of the cupboards and on the beds soon. In terms of food, my mind is starting to think of warming soups, slow cooked dishes and puddings, which I am looking forward to sharing with you over the coming months.
So, this is probably one of the last salad style recipes I will share for a while. I really wanted to share it as the whole family ate it just last week (even Mr 3!) and LOVED IT.
There are 2 main steps – poaching the chicken breasts in coconut milk and cutting up salad ingredients. Pretty easy right?
If you are new to POACHING as a cooking technique, it’s a great one to learn as it’s such an easy and healthy way to cook chicken, or fish. This recipe uses coconut milk as the liquid, but you can poach chicken in plain water or stock, brought to the boil with some basic flavourings added like lemon slices, chilli, peppercorns, herbs or spices. Generally, you bring the liquid to the boil, add your chicken, boil for a few minutes and then take off the heat and let the chicken stand in the liquid with a lid on while it continues to cook. A normal sized chicken breast will take approximately 10 minutes to cook this way, but it can vary depending on the volume of liquid and size of the pan and piece of chicken. Poached chicken breasts will last in the fridge for around 2 days and can be sliced and shredded and used in almost anything!
The following recipe was inspired by a recipe I read in cookbook “Good Food” by Anneka Manning, once the Food Editor of Australian Good Taste magazine.
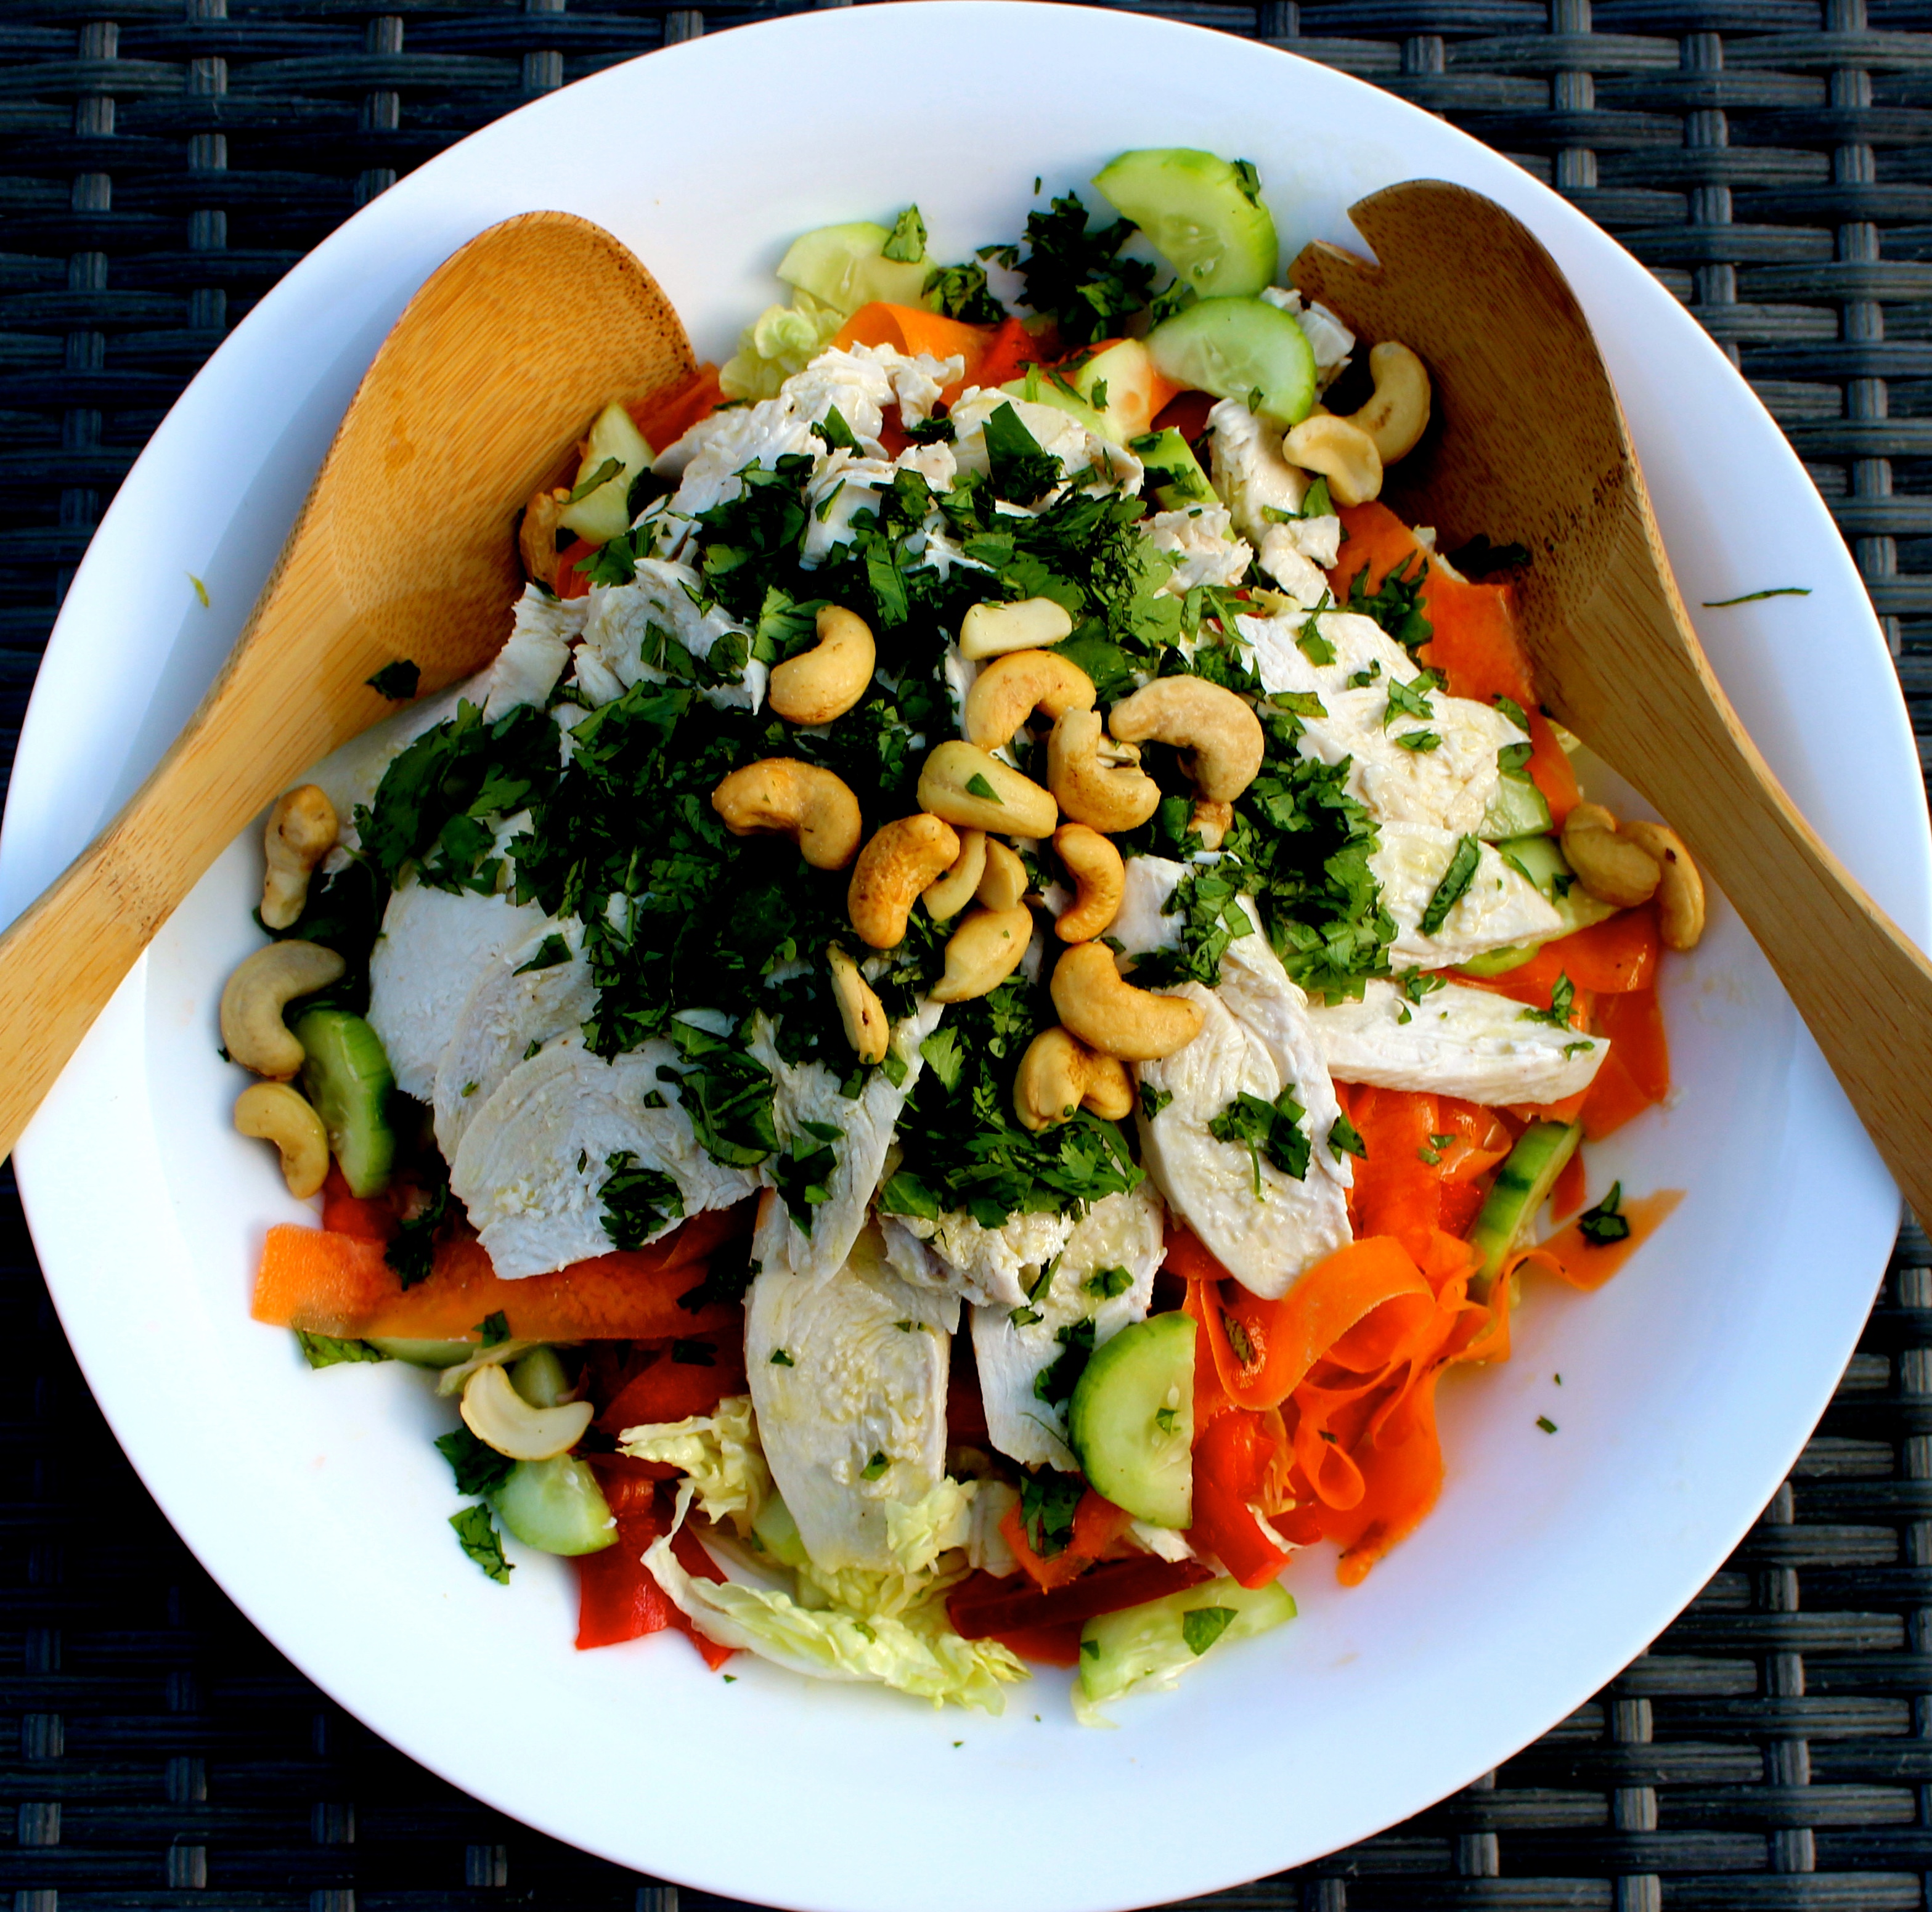
Coconut Chicken Salad
Serves 5 (3 of us did go back for small amounts of seconds!)
Ingredients
2 single chicken breasts
1 cup coconut milk
1 lemongrass stalk, pale section only, bruised with the back of a knife (place the blade of a knife horizontally on top of the stalk and press down with the palm of your hand) and roughly chopped.
Note – Lemongrass is commonly used in asian cooking to flavour a dish with a lemon lime flavour. If you can’t find one to buy in your local green grocer or super market, using a vegetable peeler, throw a few pieces of lemon rind in the pan instead.
1/2 teaspoon of dried chilli flakes
1/2 Chinese cabbage, outer leave and core removed and roughly shredded
1 cucumber, peeled and sliced
1/2 red capsicum, thinly sliced
1 carrot, skin removed and peeled into long ribbons using a vegetable peeler
1/2 bunch of fresh coriander finely chopped
a handful of toasted cashews
juice of 2 limes
1 tablespoon of fish sauce
Method
Place the chicken, coconut milk, lemongrass or lemon peel and dried chilli flakes into a medium saucepan. Bring to a simmer over medium heat. Reduce the heat to low, cover and simmer gently for 5 minutes, turn the chicken over and simmer for another 3 or so minutes or until the chicken is cooked through. Pour the contents of the saucepan, chicken included, into a heat-resistant bowl and set aside to cool while you cut up the salad ingredients.

Place the shredded cabbage, cucumber, carrot and capsicum into a large serving bowl. Combine lime juice and fish sauce and pour over the chopped salad.
Remove the chicken breasts from the liquid and slice thinly. Place the chicken on top of the salad, sprinkle with coriander and cashews.
Place the large bowl and serving spoons in the middle of the table and let everyone serve themselves.
Note – this salad would be beautiful with a handful of bean sprouts tossed through it, but my kids won’t eat them, so I left them out.