Chocolate Cherry Friands (gluten free)

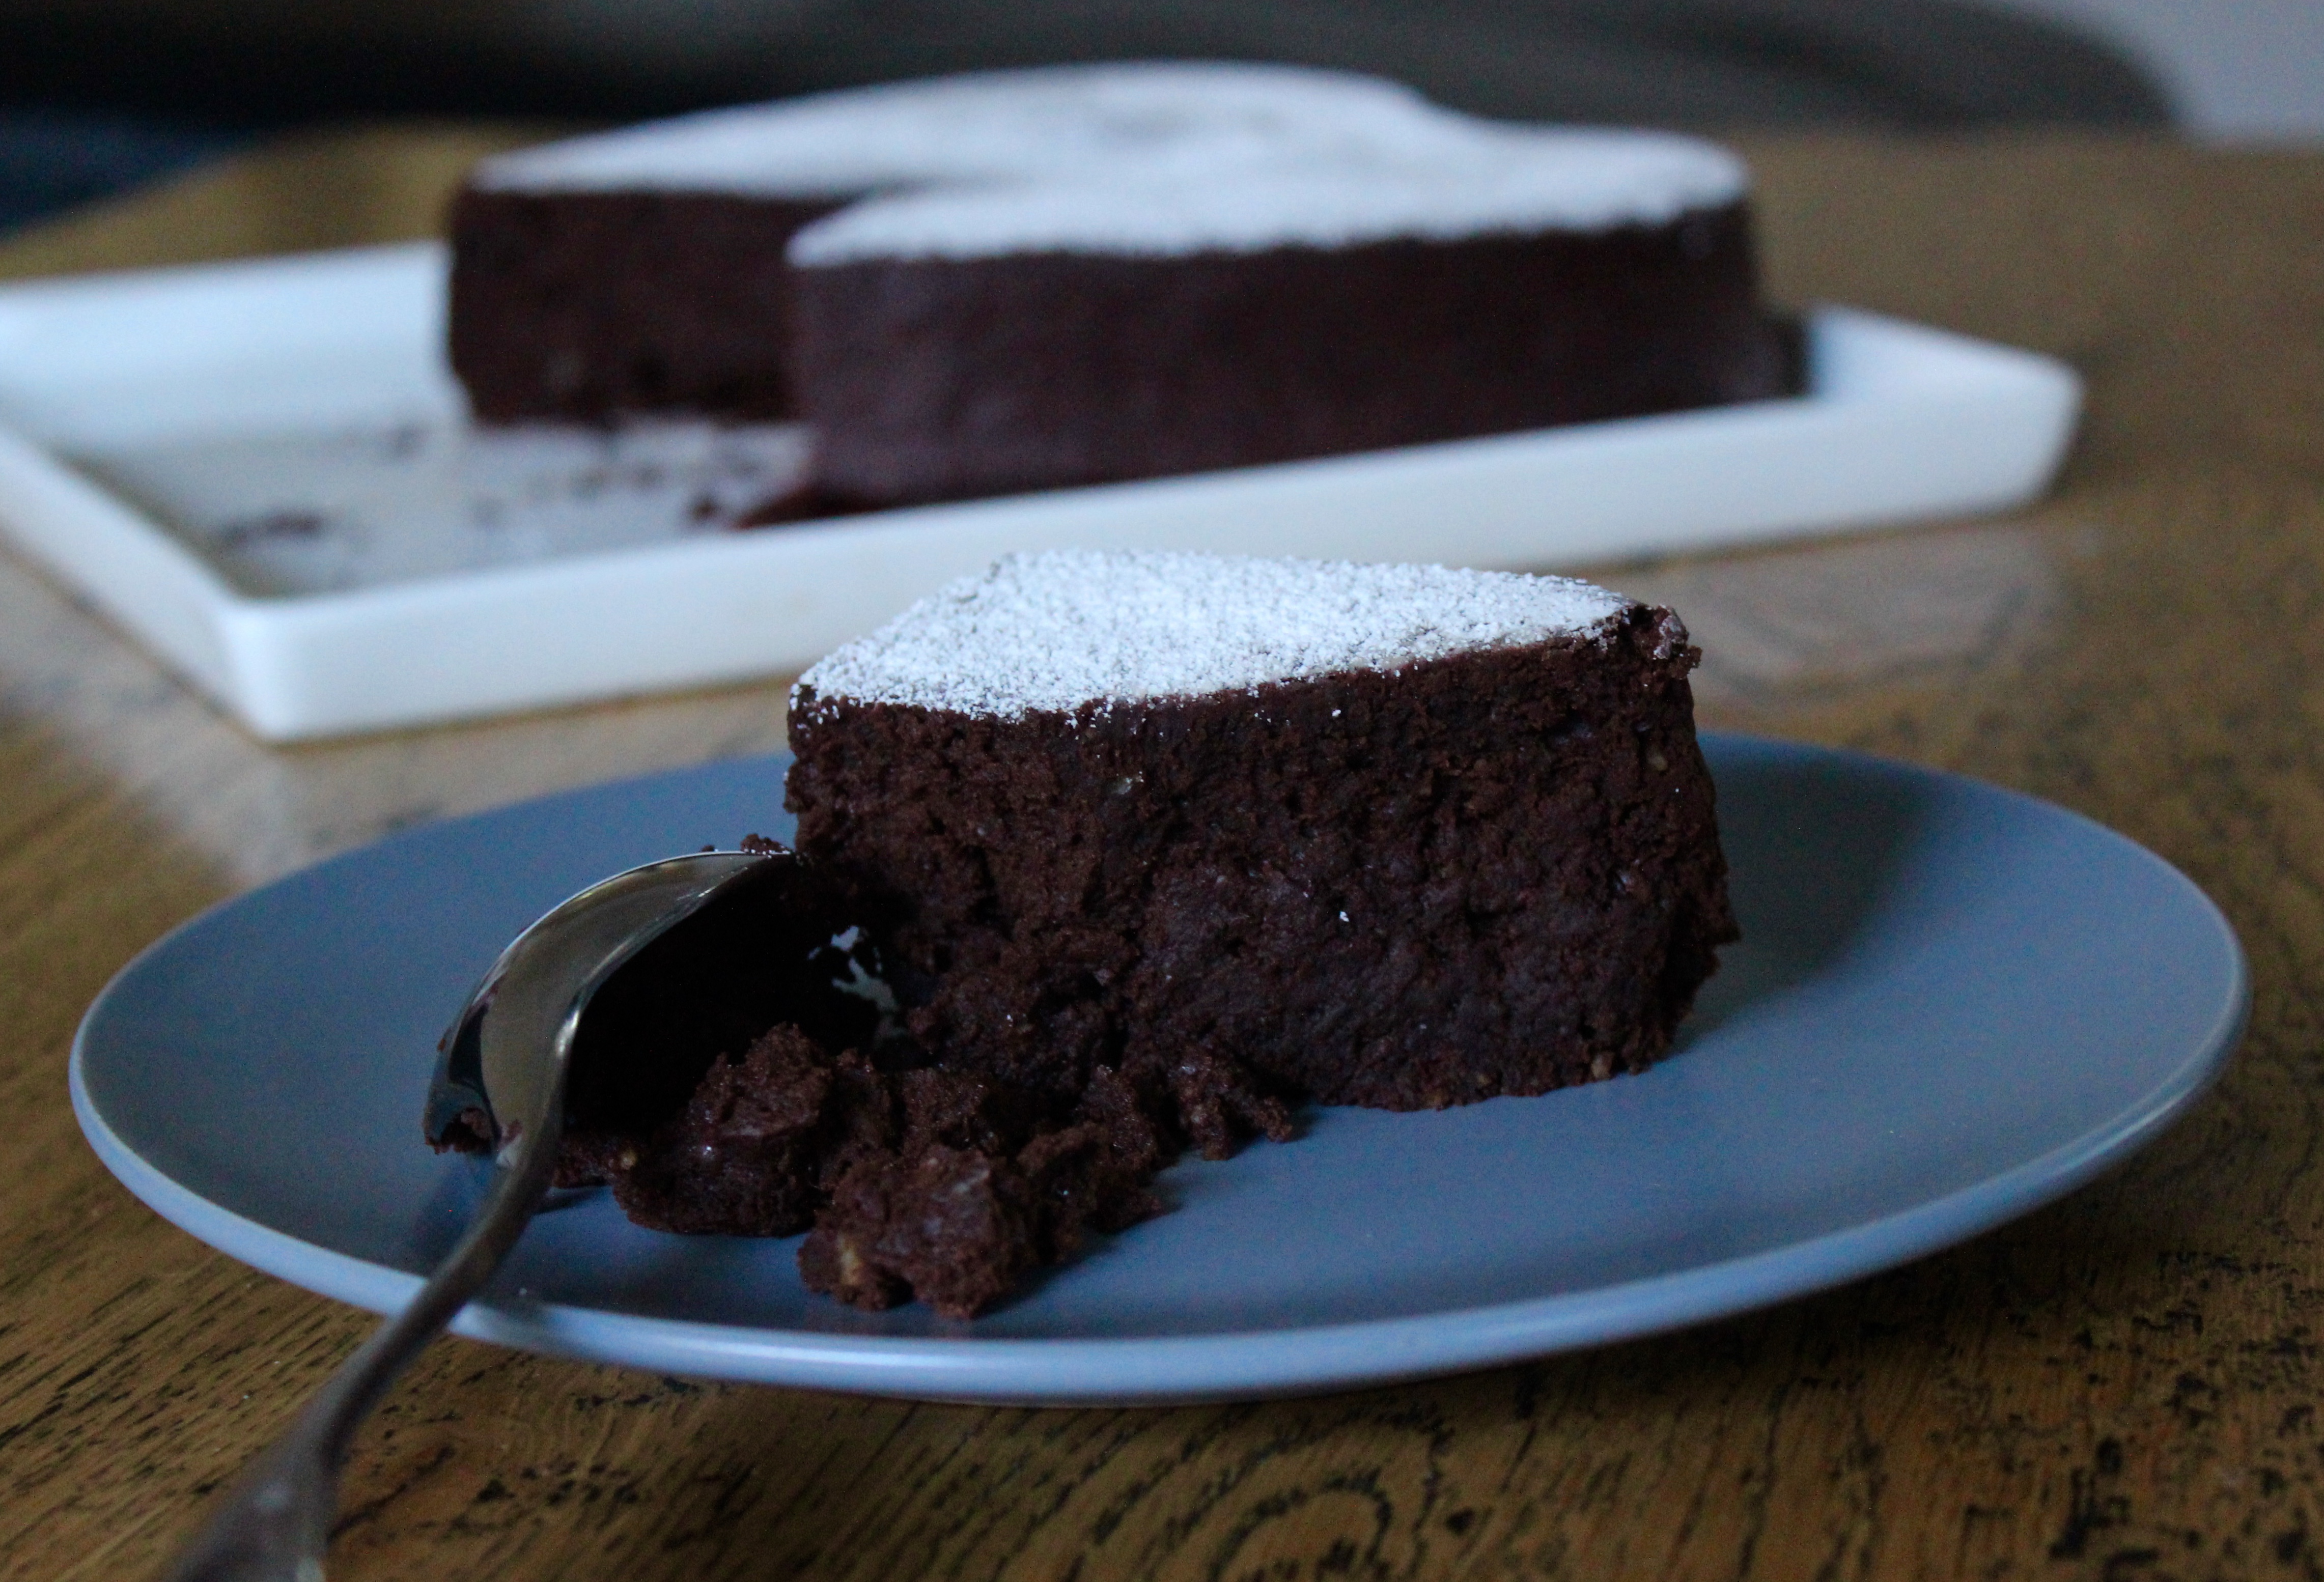
Friands, originating in France, are typically an oval shaped, small cake, made with almond meal, butter, egg whites and powdered (we know it as icing) sugar. 

According to Wikipedia, the word Friand means “dainty, or a gourmet who delights in delicate tastes.”

At our cocktail-party style wedding reception, trays and trays of friands were handed out as part of the dessert. I have always had a soft spot for them and would order one over a muffin or large slice of cake any day of the week. 

Made well, they should be moist and springy and not too sweet. 

A standard Friand recipe will have only a small amount of flour added to the almond meal, so substituting gluten-free plain flour works beautifully in a friand every time. 

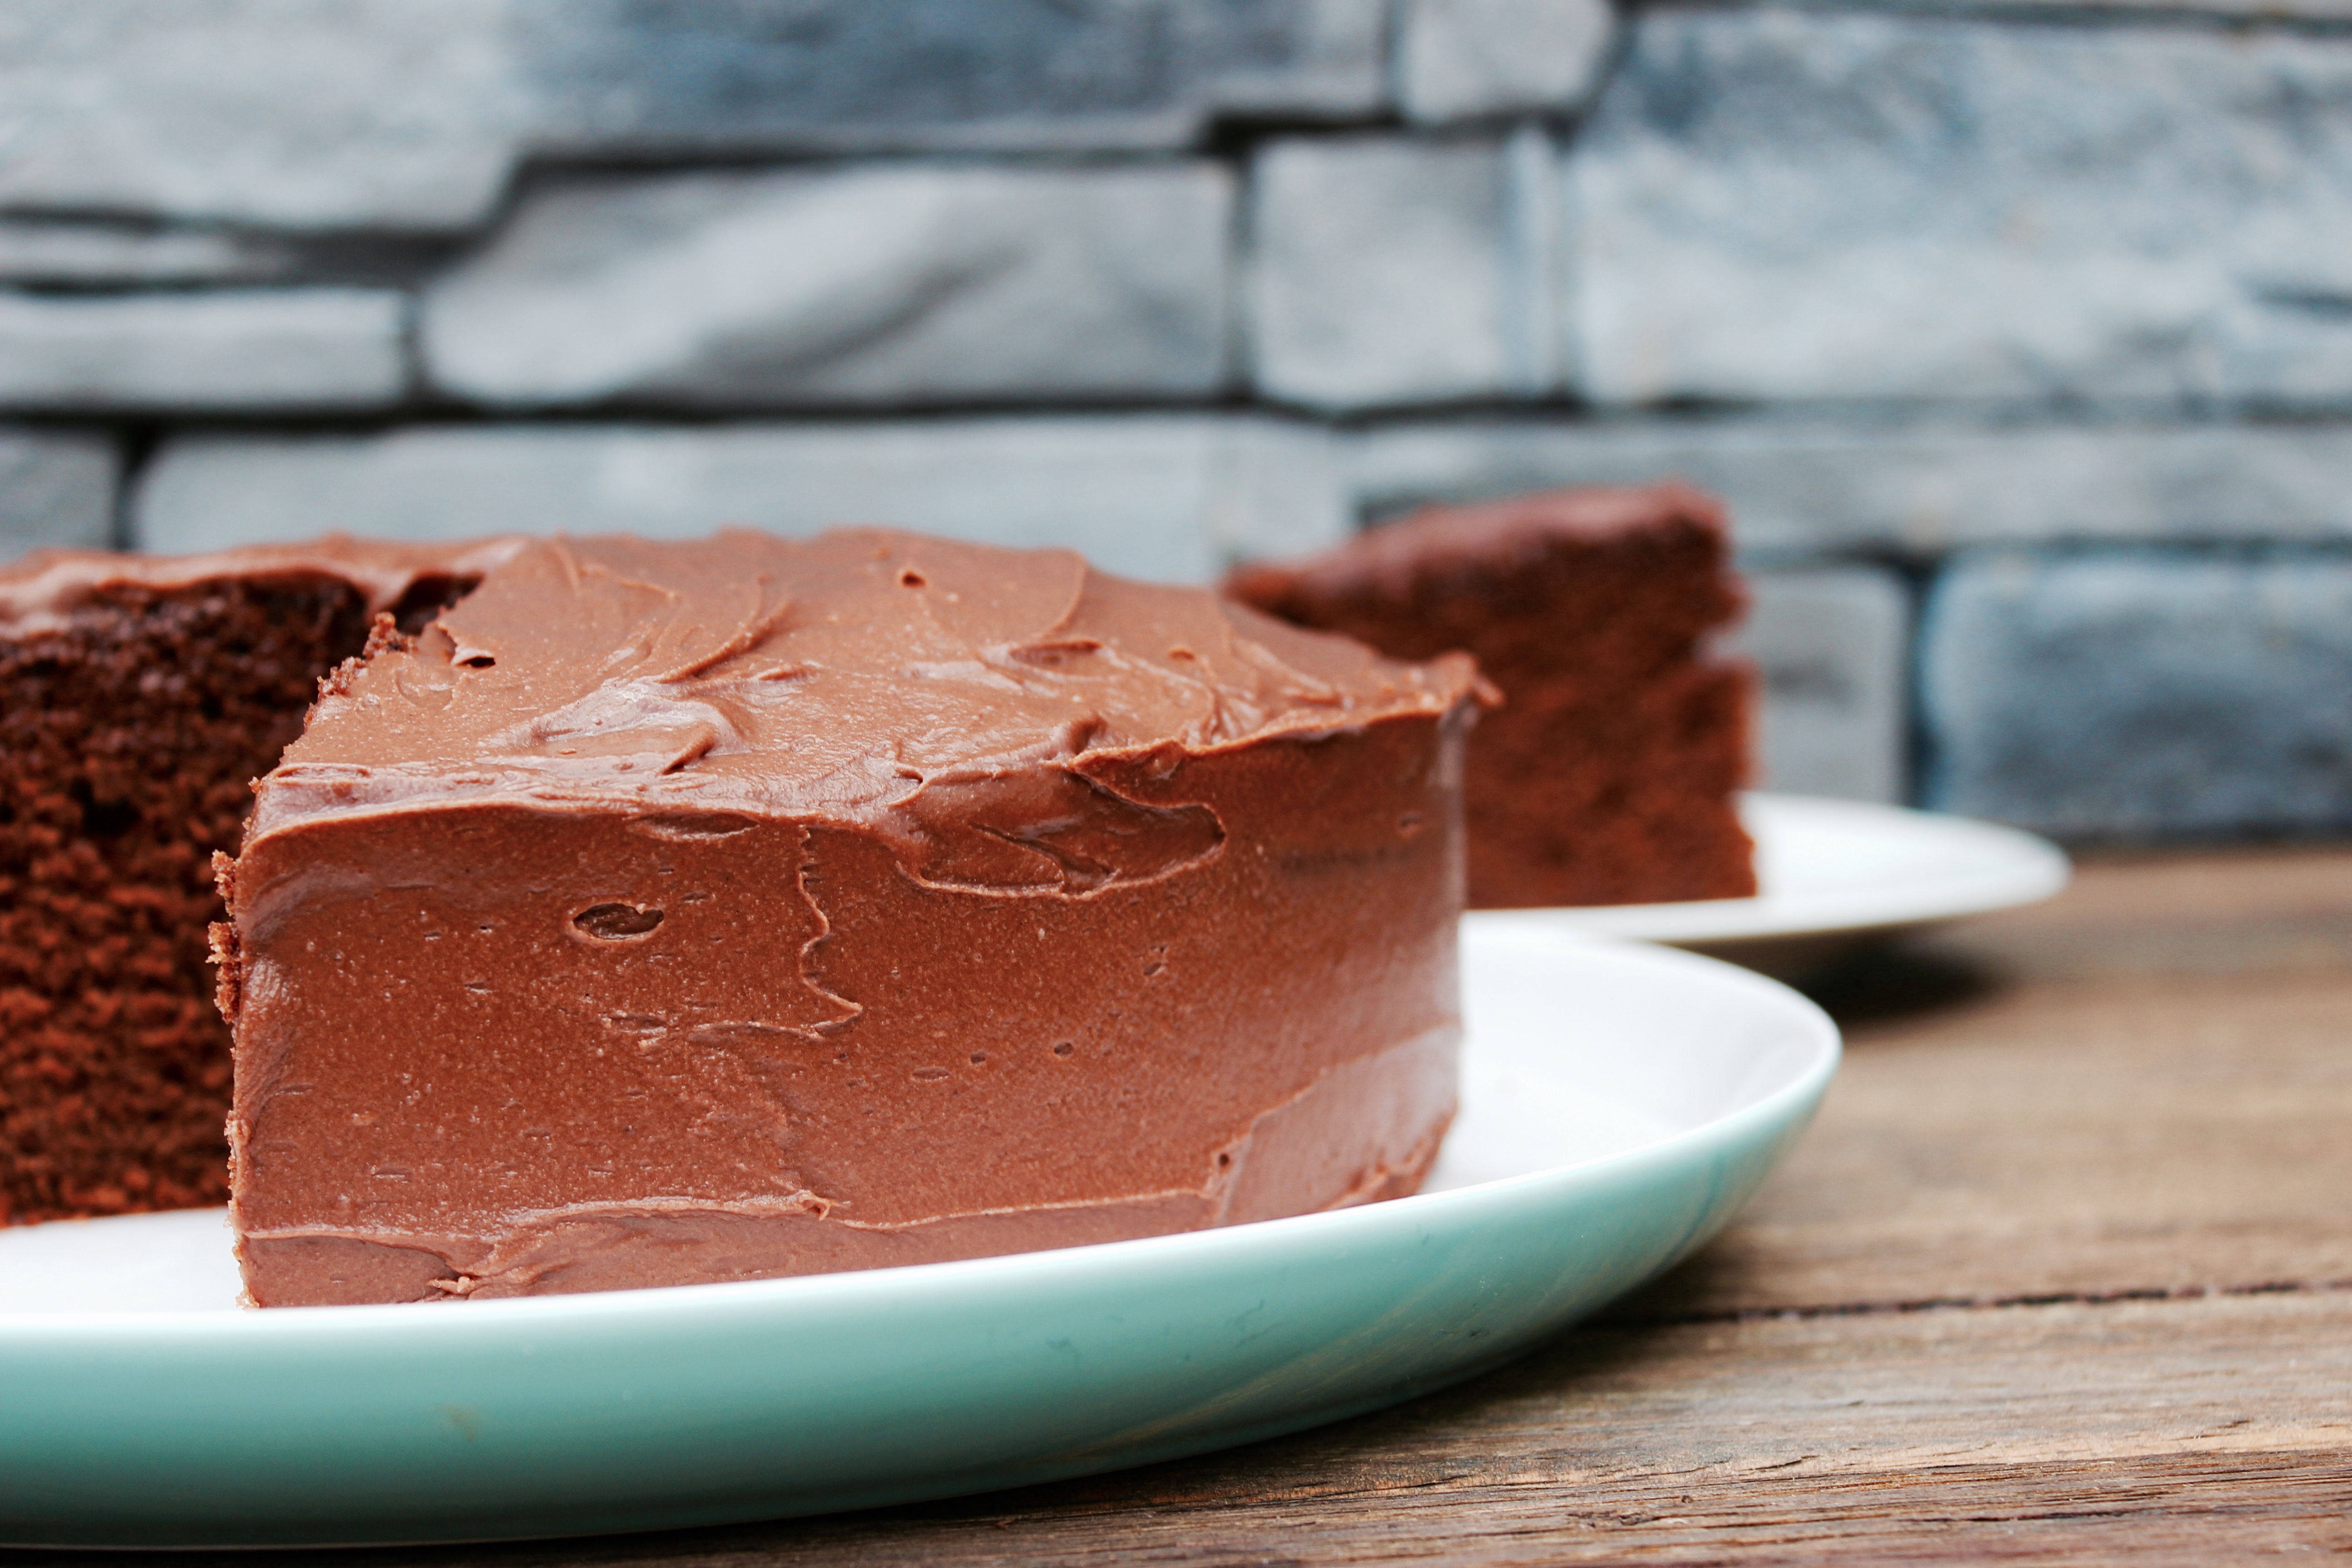
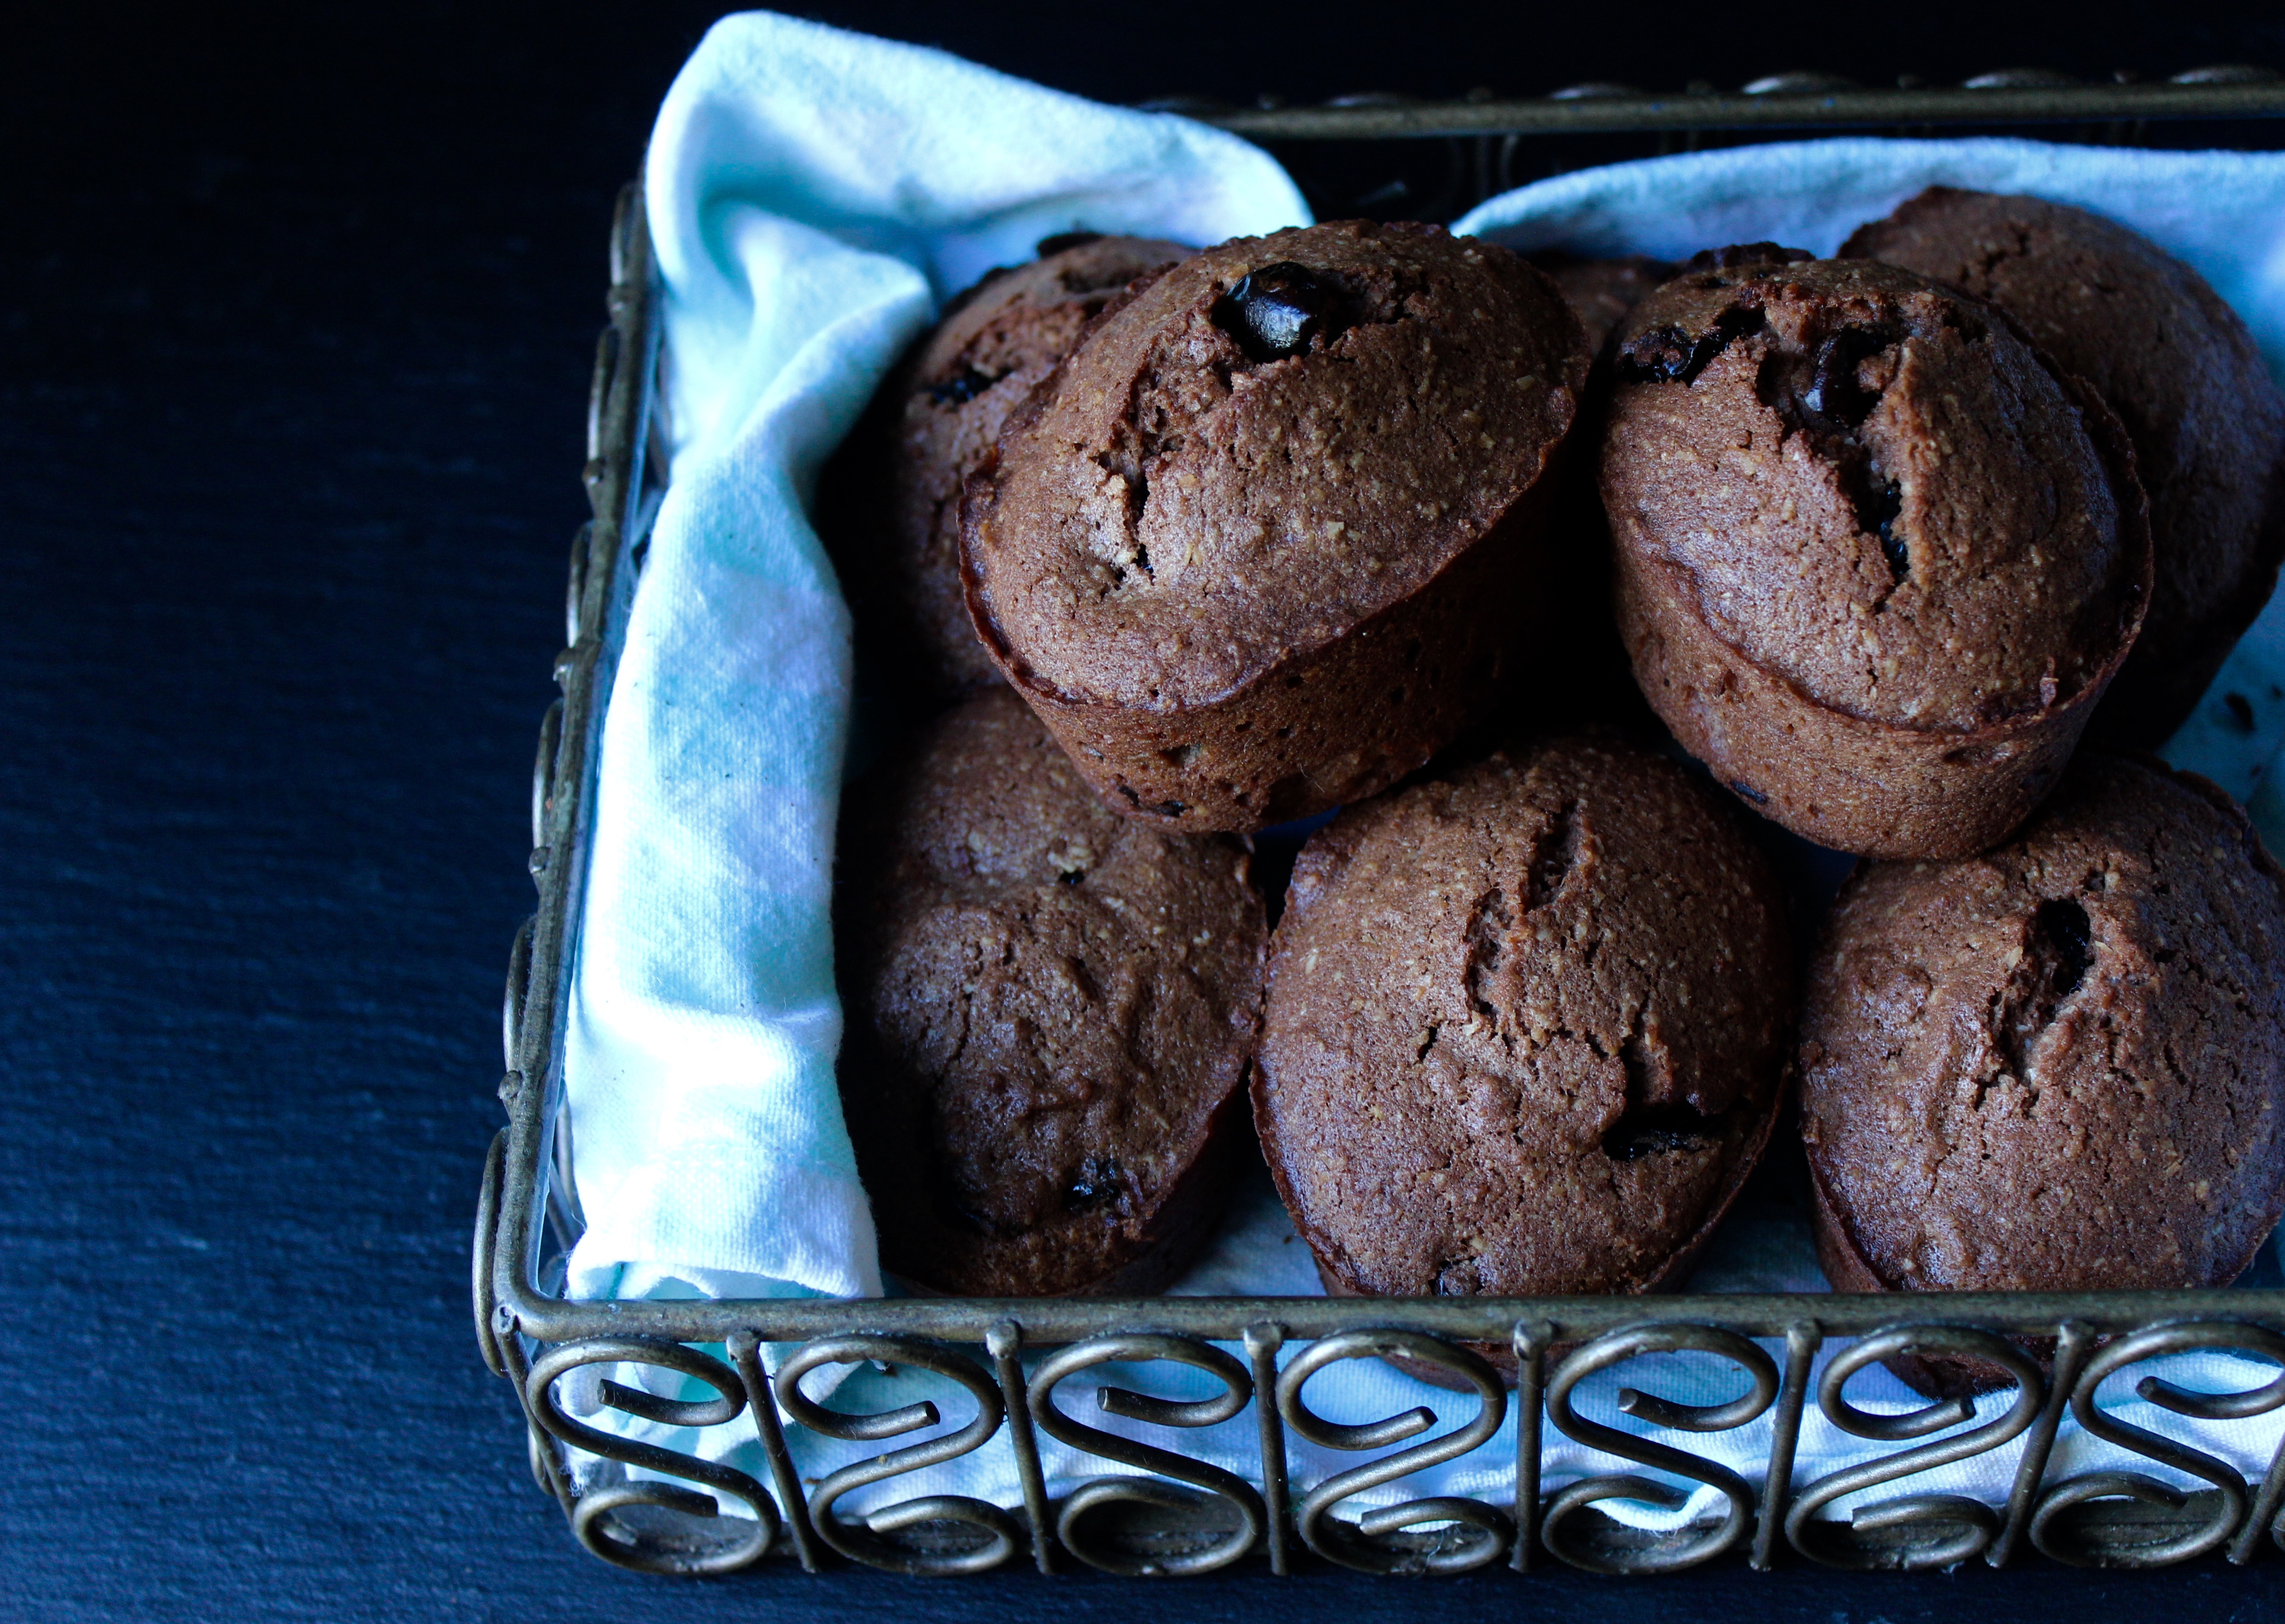
Black Forest or Cherry Ripe lovers, this recipe is for you. The dark chocolate, coconut and dried sour cherries make this recipe a little different to the standard berry or citrus friand you always find in the shops. 

For serious chocoholics, I would add an extra 100 grams of dark chocolate, chopped into small chunks and fold it through with the cherries at the end. 

Chocolate Cherry Friands
Serves 12
A moist chocolate friand with coconut and dried sour cherries.
Write a review
Print
Prep Time
10 min
Cook Time
20 min
Total Time
30 min
Prep Time
10 min
Cook Time
20 min
Total Time
30 min
Ingredients
  1. 100 grams dark chocolate, chopped (plus 100 grams extra if you want chunks through it)
  2. 175 grams unsalted butter, chopped
  3. 1 cup almond meal
  4. 6 egg whites
  5. 1 cup powdered (icing) sugar
  6. 1/2 cup desiccated coconut
  7. 1/2 cup dried sour cherries (dried cranberries would work too if you can't find them)
  8. 1/2 cup plain flour or gluten-free plain flour
Instructions
  1. Preheat oven to 190 degrees celsuis.
  2. Place butter and 100 grams of chocolate in a heat proof bowl and melt in microwave for 1 minute. Remove, stir, and if needed, put back in microwave in 20 second bursts until all melted. Set aside.
  3. Lightly whisk egg whites with a hand whisk till it's a little bubbly, then add chocolate mixture and stir till combined.
  4. Add all other ingredients, except cherries (and extra chocolate if using) and stir till thoroughly combined.
  5. Lightly fold in cherries.
  6. Spoon mixture into lightly greased friand tins, filling 3/4 full.
  7. Bake for 20 minutes, or until risen and it springs back when lightly touched.
  8. Leave to cool in tin for a few minutes and then turn out onto a wire rack to cool completely.
Notes
  1. These will keep for 3 days in an airtight container.
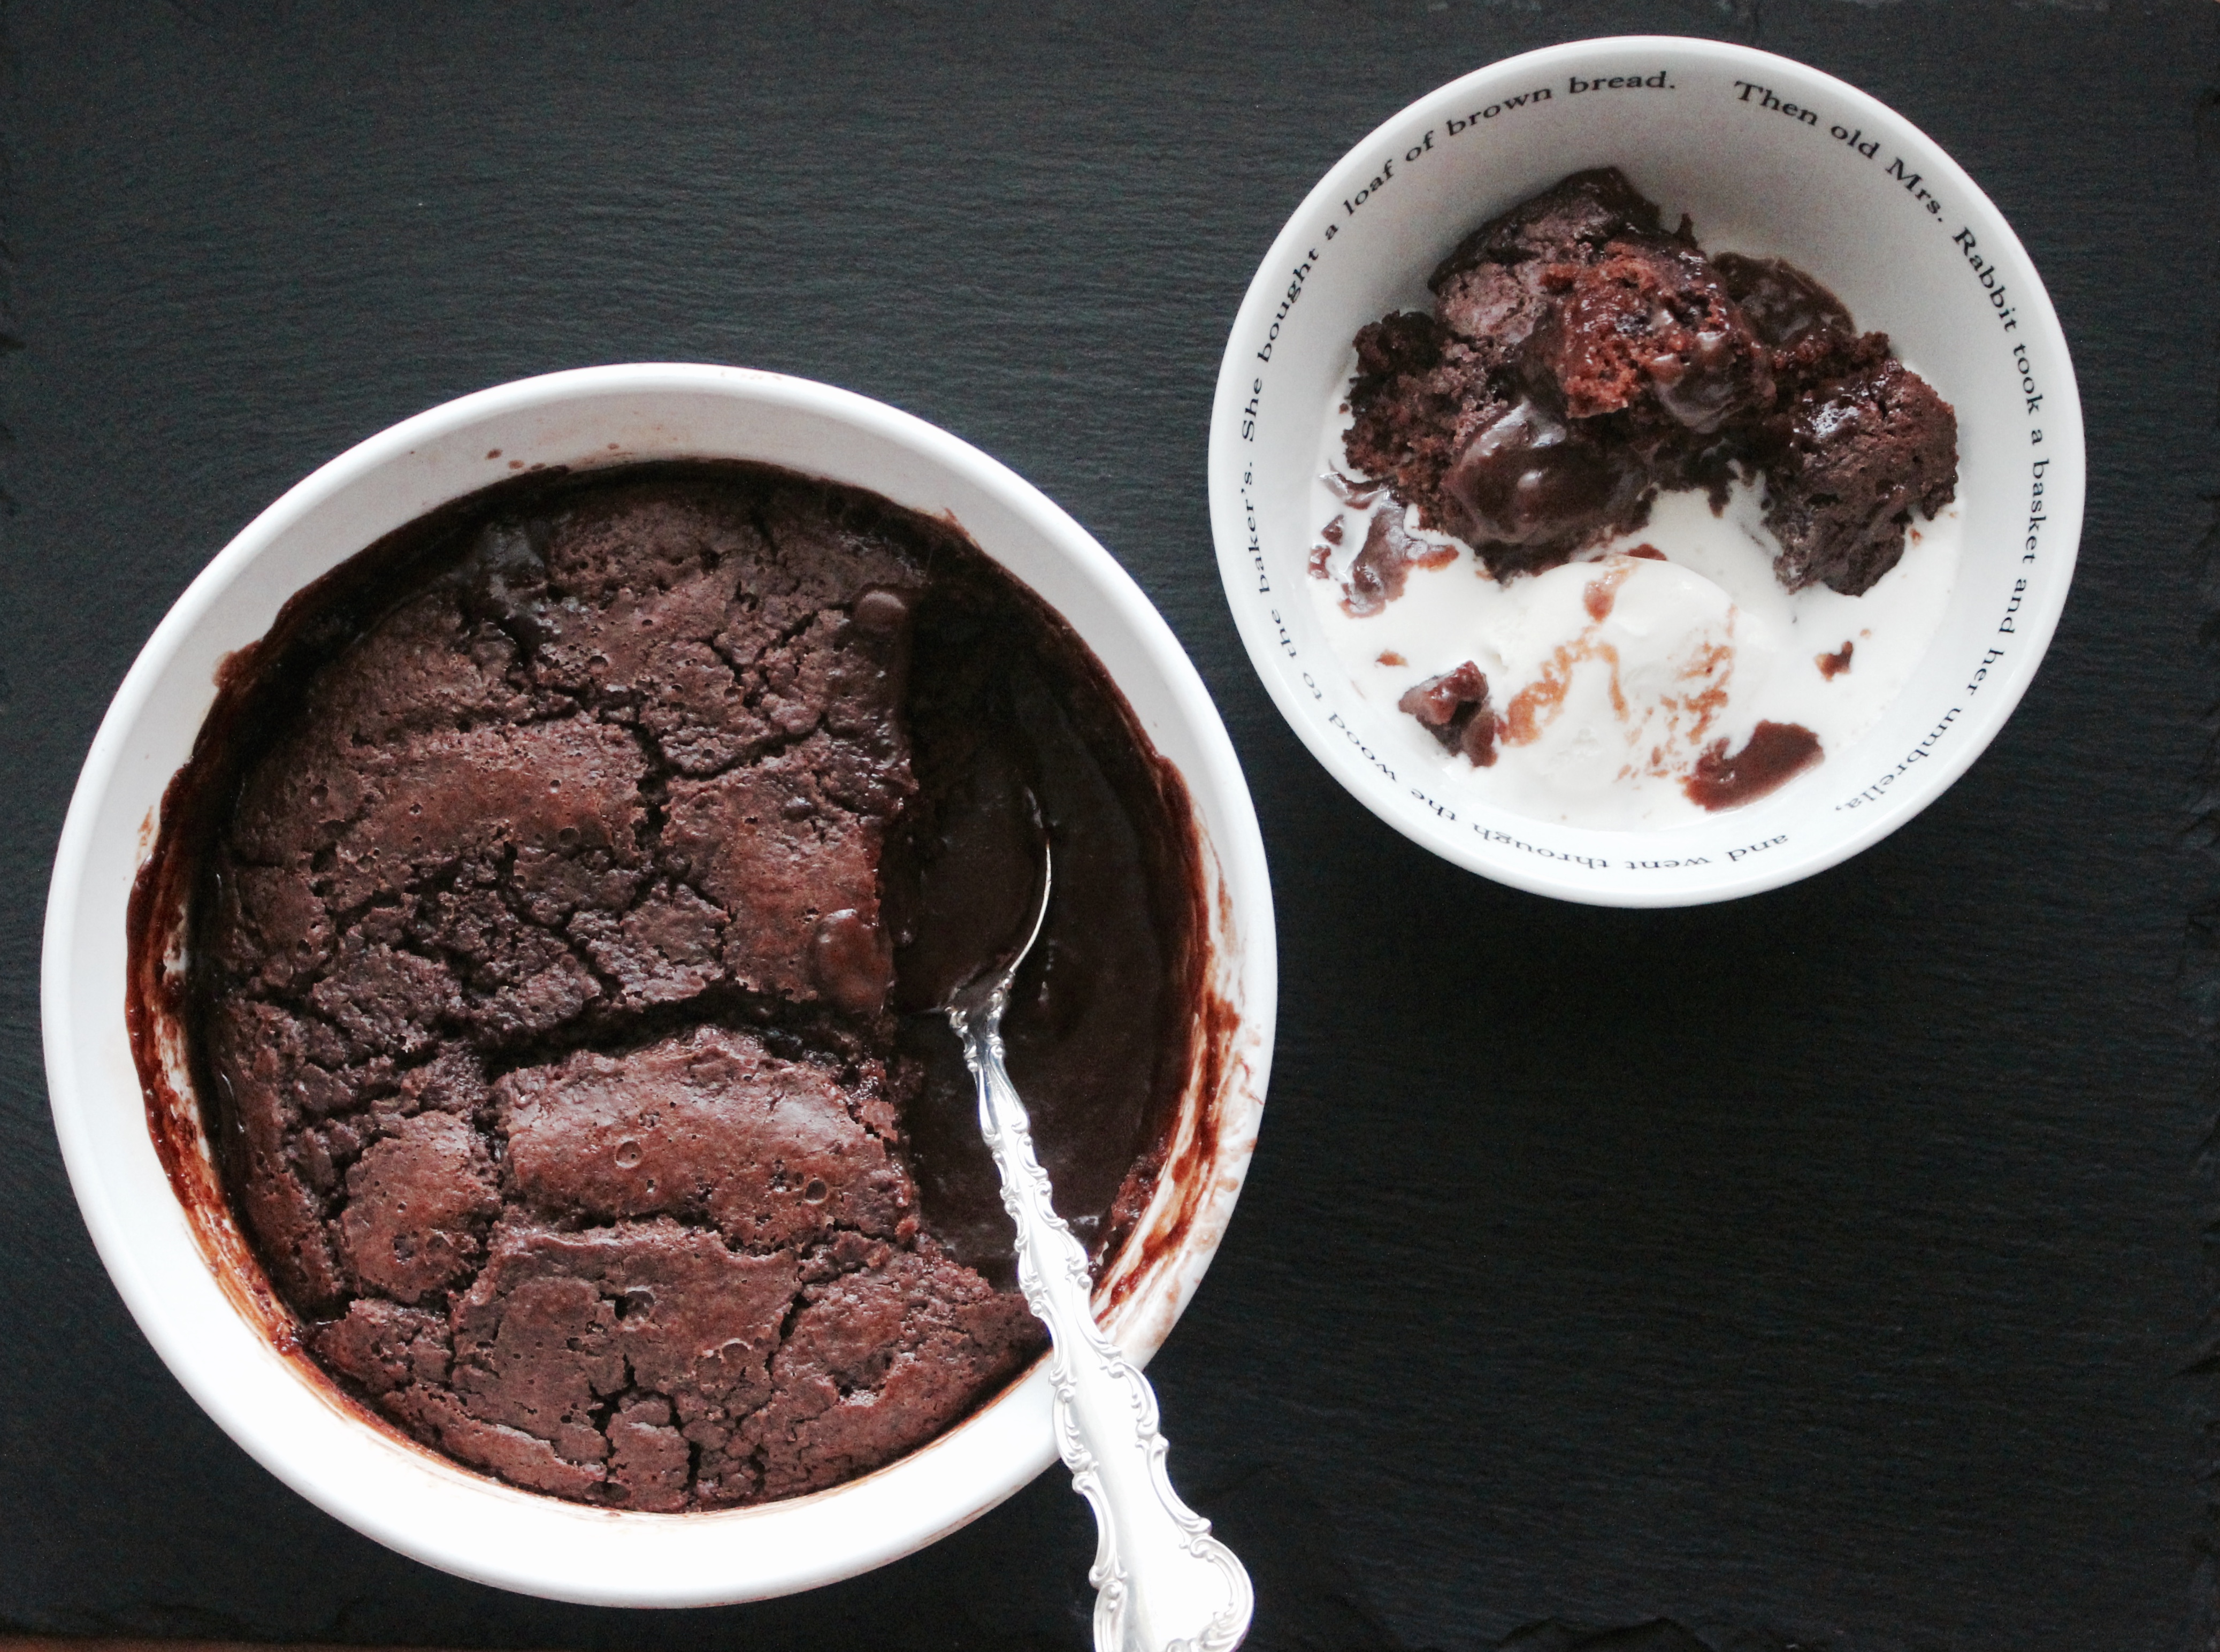
  2. After day 1, they are best enjoyed after being slightly refreshed in the microwave for 15 seconds or so.
cook fast eat slow https://www.cookfasteatslow.com/

Flourless Chocolate Cake (gluten free)

It was our anniversary last week. We celebrated as many middle- age-couples-with-kids do. Staying home, ordering take away and falling asleep in front of a movie. Yep, party animals, I know!

I often find myself in a reflective mood on days like anniversaries, and this day was no different. As I went about my day, with the highs and lows of the last 16 years swirling through my head, I came up with 16 lessons that the last 16 years have taught me. 

I wrote them down with the intention of sharing them with you, but that was before the argument that turned into a fight. 

I was quick to toss the list aside. 

I can’t write about marriage when we are just cooling off from our last argument? What qualifies me to share lessons from our journey? 

And then it was the conversation with a kindred spirit that had me mulling over what qualifies any of us to write and share anything at all. 

If perfection is required to share thoughts on parenting, marriage, cooking, or faith, then I really need to make this my last ever blog post and say farewell to you all. 

The truth is I, like all people who write about stuff, have it no more together or perfect than those who don’t write.

I suppose the only difference is I am willing to share the good and the not so good stuff of life through what I write.

So here they are, lessons learnt through the imperfection of the journey. Lessons we keep learning today. 

16 Lessons from 16 Years of Marriage

  1. I love him more now than 16 years ago.
  2. It’s harder than I expected.
  3. It’s a marathon, not a sprint.
  4. My husband always seems to offer the olive branch first. He shows grace and moves on quickly. I’m still working on this. 
  5. It’s ok that we are different. I’m good in the morning, he holds it together at night. I can cook, he can build the boys a billy cart. I freak out about a potential disaster, he stays calm. He can drive all day, I negotiate peace amongst the kids in the car. Different means we’re a good team, even if it makes for interesting sometimes. 
  6. We’ve grown to be the same over the years too. I love the rugby and he now knows how to book a good restaurant and sit with me for hours talking over a meal. 
  7. You don’t always needs to talk. It’s ok to sit in silence. It doesn’t always mean something is wrong. 
  8. Communication is essential. Say it. Get it out. Deal with it. Move on. Unresolved issues not spoken of will fester, bubbling under the surface and eventually rot the foundations. 
  9. We can agree to disagree on things that don’t matter. Bedtimes, clothes, job lists, holiday destinations can all be negotiated. But family, it’s direction, goals, beliefs, parenting, use of time and money – we need to be on the same page on the big things.
  10. We need to compromise with no strings attached. 
  11. Small random acts of kindness on a daily basis, like making a cuppa, calling during a busy day to see how an appointment went, offering to do something helpful, will show love sometimes more than the once off, BIG, FLASHY things.
  12. Time alone without the kids is essential.
  13. Laugh. Hold Hands. Dance in the kitchen. Life is going to get harder, so fight for joy when you can. 
  14. Give each other time to do the things they love. He has sent me to cooking classes over the years, I’ve encouraged him to cycle with his mates. 
  15. Invest in mutual friends who we can be real with. They’ll see the good, the bad and the ugly and they’ll still be a safe place for us both.
  16. Keep our eyes on Jesus. He was the ultimate example of sacrificial love, grace, forgiveness and putting others first. We’re going to need all those things to make it to the finish line together. 
Flourless Chocolate Cake
Serves 12
A rich, moist, chocolate cake made with roasted pecans and a hint of brandy.
Write a review
Print
Prep Time
20 min
Cook Time
40 min
Total Time
1 hr
Prep Time
20 min
Cook Time
40 min
Total Time
1 hr
Ingredients
  1. 250 grams unsalted butter
  2. 250 grams good quality dark chocolate
  3. 85 grams sifted cocoa powder
  4. 180 grams pecans, roasted
  5. 6 eggs
  6. 1 cup castor sugar
  7. 1/3 cup brandy
  8. 2 teaspoons vanilla
  9. icing sugar for dusting
Instructions
  1. Preheat oven to 180 degrees celsius.
  2. Grease and line the base and sides of a 20-22cm round cake tin with baking paper.
  3. Melt the butter in a saucepan over a medium heat.
  4. Add the broken chocolate and whisk until melted too.
  5. Take the pan off the heat and whisk in the cocoa, till smooth and glossy.
  6. Set aside to cool a little.
  7. Whiz the pecans in a food processor till they are as fine as possible, being careful to stop before they turn into a paste.
  8. Set aside.
  9. In a large bowl, whisk the eggs and sugar together with a hand balloon whisk till combined.
  10. Whisk in the chocolate mixture, then the brandy and vanilla.
  11. Stir in the ground pecans.
  12. Pour the batter into the prepared tin and bake for 40 minutes. The middle of the cake may still wobble a little, but if the sides are set, it is ready.
  13. Cool completely in the tin.
  14. Remove from tin and dust with icing sugar to serve.
  15. Serve warm or at room temperature with thick cream, ice-cream and berries for a special dessert.
Notes
  1. This cake will last for one week covered in the fridge.
Adapted from Mix and Bake
cook fast eat slow https://www.cookfasteatslow.com/


Bung-In Chocolate Cake (To Love and Feed Them)

It has occurred to me that when it comes to raising children, nothing can actually prepare you for each new season.

I don’t like this.

If at all possible, I would prefer 12 months notice on All Issues That Will Arise with each of my children. Then I could plan, research, study, hold focus groups and interrogate All Those Who Have Gone Before and demand their wisdom and insights. I could search for the people who have experienced the exact same thing that my kids will and ask them “What do I do?”

But alas no. Reality is more like at 9.45pm at night or as we are running out the door to school late, again, BAM, I’m blind-sided by New Issue that I am totally unprepared for.

I don’t think this feeling of being unprepared is specific to any one season. Whether it’s trying to feed a new baby, or help them learn to sleep, or navigate relationships and technology with teenagers, it’s almost impossible to prepare for how it will look for your kids and your family.

I don’t like this. As I previously mentioned.

So, as I often tell my kids, I am learning to embrace the things I Don’t Like and work out how to get through anyway.

It’s looking a lot more like thinking on your feet, getting it wrong, getting it right the next time, rolling with the punches, counting to 10, walking away, keeping my mouth shut, smiling in front of them and crying once they’re in bed, pretending I’m an expert in said issue while inwardly hoping they can’t see through me, telling them I don’t have all the answers, letting things that don’t matter go, going to sleep thankful a bad day is over and waking up thankful each new day starts with new grace and mercies for myself and for my kids.

Recently I did receive a beautiful text message from One Who Has Gone Before, who has/is raising boys older than mine. Not only is she surviving, but she seems to be doing it with bucket loads of grace and humor. I want to be just like her.

On a particularly discouraging day, as we had started to navigate the tween and teen years, she sent me this advice. Simple but Gold.

1. Keep a sense of humour.
2. Don’t take them too seriously, or take their “moods” personally.
3. Give them space and independence when you can.
4. Encourage good friendships.
5. Above all, keep loving them (NOT always easy)
6. Never stop praying.

I have considered getting it written on a canvas and placing it somewhere I can see it each morning.

And on the days when I seriously don’t know what to do, I try and focus on what I can do.

Love them and Feed them.

Sometimes that has to be enough.

Kate Bracks Bung-In Chocolate Cake
Serves 10
an easy one bowl plain, moist and fluffy chocolate cake.
Write a review
Print
Prep Time
30 min
Cook Time
40 min
Total Time
1 hr 10 min
Prep Time
30 min
Cook Time
40 min
Total Time
1 hr 10 min
Ingredients
  1. 2 cups self raising flour
  2. 1 cup caster sugar
  3. 1/3 cup cocoa powder
  4. 2 eggs, lightly beaten
  5. 2 teaspoon vanilla extract
  6. 1 1/3 cups milk
  7. 150 grams butter, melted
  8. Icing
  9. 1 1/4 cups icing sugar mixure
  10. 2 tablespoons cocoa powder
  11. 30 grams butter, melted
  12. 1 teaspoon vanilla extract
  13. 2 tablespoons milk
Instructions
  1. Preheat the oven to 180 degrees celsius.
  2. Grease a 20cm round cake tin with baking paper, on the base and sides.
  3. Place all the dry ingredients in a mixing bowl and whisk with a hand balloon whisk to combine (this replaces having to sift all the ingredients)
  4. Make a well in the centre, and add the wet ingredients.
  5. Whisk gently until the mixture is smooth and combined.
  6. Pour the mixture into the cake tin and bake for 40-50 minutes or until a skewer inserted into the cake comes out clean.
  7. Cool into the tin for 10 minutes and then turn onto a wire rack to cool completely.
  8. To make the icing, sift the icing sugar and cocoa powder together in a small bowl.
  9. Add the melted butter and vanilla and enough milk to get it to a smooth, spreadable consistency. Add more milk if it's too thick.
  10. Spread the icing over the cooled cake.
Notes
  1. This cake will keep for 3-4 days in an airtight container.
Adapted from The Sweet Life
cook fast eat slow https://www.cookfasteatslow.com/

Chewy Dark Chocolate Chunk Cookies with Sea Salt (gluten, grain and dairy free)

When you read the ingredient list for these cookies, you can’t possibly believe that they turn out as good as they do. 

A weekend baking treat for those who live on restricted diets for health reasons, or for anyone who wants to try a different method of baking, without using flour or grains of any kind. 

The sugar used in this recipe is coconut sugar, but if you wanted to make them and you don’t have it, you can substitute raw sugar. Coconut sugar is currently trending as a sugar that is ‘not refined’ and therefore better for you than refined or processed sugars. At the end of the day, it’s still sugar and we shouldn’t be eating heaps of it. If you have blood sugar problems, then these biscuits are still probably not the best thing for you.  However, compared to store-bought biscuits and other recipes, these are overall lower in sugar.

To make these dairy free, you just need to use a good quality 70% – 85% dark chocolate or a dairy free chocolate that is available in most supermarkets these days. 

They are loved by all in this house…the only issue is this recipe makes approx 13, which means they don’t last long for a family of 5!

This recipe is from www.slimpalate.com 

Chewy Dark Chocolate Chunk Cookies with Sea Salt
Serves 12
A chewy chocolate cookie that is gluten, grain and dairy free
Write a review
Print
Prep Time
5 min
Cook Time
12 min
Total Time
17 min
Prep Time
5 min
Cook Time
12 min
Total Time
17 min
Ingredients
  1. 1 cup almond butter (this can be purchased in the supermarket in the Health Food section or speads isle)
  2. 3/4 coconut or raw sugar
  3. 1 egg
  4. 1 egg yolk
  5. 1 1/2 teaspoons vanilla extract
  6. 1 teaspoon baking soda (bi-carb soda)
  7. 1/4 teaspoon salt
  8. 100 grams good quality dark chocolate, chopped into small chunks
  9. sea salt for sprinkling
Instructions
  1. Preheat oven to 180 degrees celsius.
  2. Line 1 large baking tray with baking paper, or 2 smaller trays. The biscuits need room to spread.
  3. Place the almond butter in a medium size bowl.
  4. Whisk together the egg and egg yolk in a separate small bowl.
  5. Stir the sugar into the almond butter, then add baking soda, salt and vanilla and stir until thoroughly mixed.
  6. Add the egg mixture and stir again.
  7. Fold through the chopped chocolate.
  8. Place a heaped dessert spoonful of mixture into the palm of your hand, roll into a ball and place on tray. Lightly flatten.
  9. Bake in the oven for 10-12 minutes. They will be ready when they are slightly golden, firm on top and have spread.
  10. Remove from oven, lightly sprinkle the top of each cookie with sea salt and leave to cool for 10 minutes on the trays.
  11. These will last a couple of days in an airtight container.
Notes
  1. The Almond Butter I use for these cookies is the Macro brand from Woolworths and is called Almond Spread. The ingredients is 100% raw almonds.
Adapted from Slim Palate
cook fast eat slow https://www.cookfasteatslow.com/

Chocolate Nutella Pudding

It was around this week last year that I posted my favourite Soft-Centred Chocolate Pudding recipe. For those who missed it, you can find it here.

It’s no surprise then, that as the weather has cooled and the Easter weekend looms close, I find myself thinking of chocolate and warming desserts once again. 

It was while my boys were snuggled on the lounge watching the Grand Prix and the rain was softly falling, that I was drawn to the kitchen and started to muck around with the good old classic Chocolate Self-Saucing pudding recipe that I am sure many of you have either made or eaten before. 

IMG_8161

On a side note, it was my first day out of bed after succumbing to the flu and I was completely over lemon and ginger tea and not being able to taste much of my food. 

So with limited energy to spare and 4 sets of hungry eyes looking at me from the lounge, I thought of this SUPER easy, mix-and-bake-in-the-one bowl dessert.

The best way I can describe it in relation to the Soft-Centred Pudding recipe above is using the analogy of shoes. 

The Soft-Centred Puddings are your black high heels. They are perfect for enjoying with guests, table cloths and candles and a well-thought out dinner party menu. 

This Chocolate Nutella Self-Saucing pudding are your ugg boots. You pull them out when you are tired and the weather is cold and you want to eat something with your family, preferably in your PJ’s and in front of a good movie. 

The best bit about this recipe, apart from the taste, is that you mix it all in the bowl you bake it in, a big tick for the minimal washing up.

Serve it with cream, custard or ice-cream…..and in your ugg boots. 

Chocolate Nutella Pudding
Serves 6
A chocolate and hazelnut pudding, that creates it's own rich sauce as it bakes.
Write a review
Print
Prep Time
10 min
Cook Time
50 min
Total Time
1 hr
Prep Time
10 min
Cook Time
50 min
Total Time
1 hr
Ingredients
  1. 1 cup self raising flour
  2. 1 tablespoon cocoa powder
  3. 1/4 cup castor sugar
  4. 1 egg
  5. 1/4 cup nutella
  6. 1/2 cup milk
  7. 2 teaspoons vanilla extract
  8. Topping
  9. 2 tablespoons nutella
  10. 1/2 cup brown sugar
  11. 1 3/4 cup boiling water
Instructions
  1. Preheat oven to 180 degrees celsius.
  2. Pour the flour, cocoa and sugar into a round baking dish (approx 4 cup/2L size) and whisk with a hand ballon whisk until combined.
  3. Make a hole in the centre of these ingredients.
  4. In a small jug, mix all other ingredients, (except the topping) with a fork and then pour into the hole in the dry ingredients.
  5. With a wooden spoon, stir until smooth and combined.
  6. For the topping - in a small bowl, mix nutella and brown sugar together. It will become clumpy.
  7. Sprinkle this mix over the top of the pudding.
  8. Pour the boiling water gently over the top of the pudding.
  9. Bake in the oven for 45-50 minutes, or until the top of the pudding is cooked and spongy but you can see the sauce bubbling up the sides.
  10. Cool for a few minutes and serve with cream, custard or ice-cream.
cook fast eat slow https://www.cookfasteatslow.com/